
Opening the box...
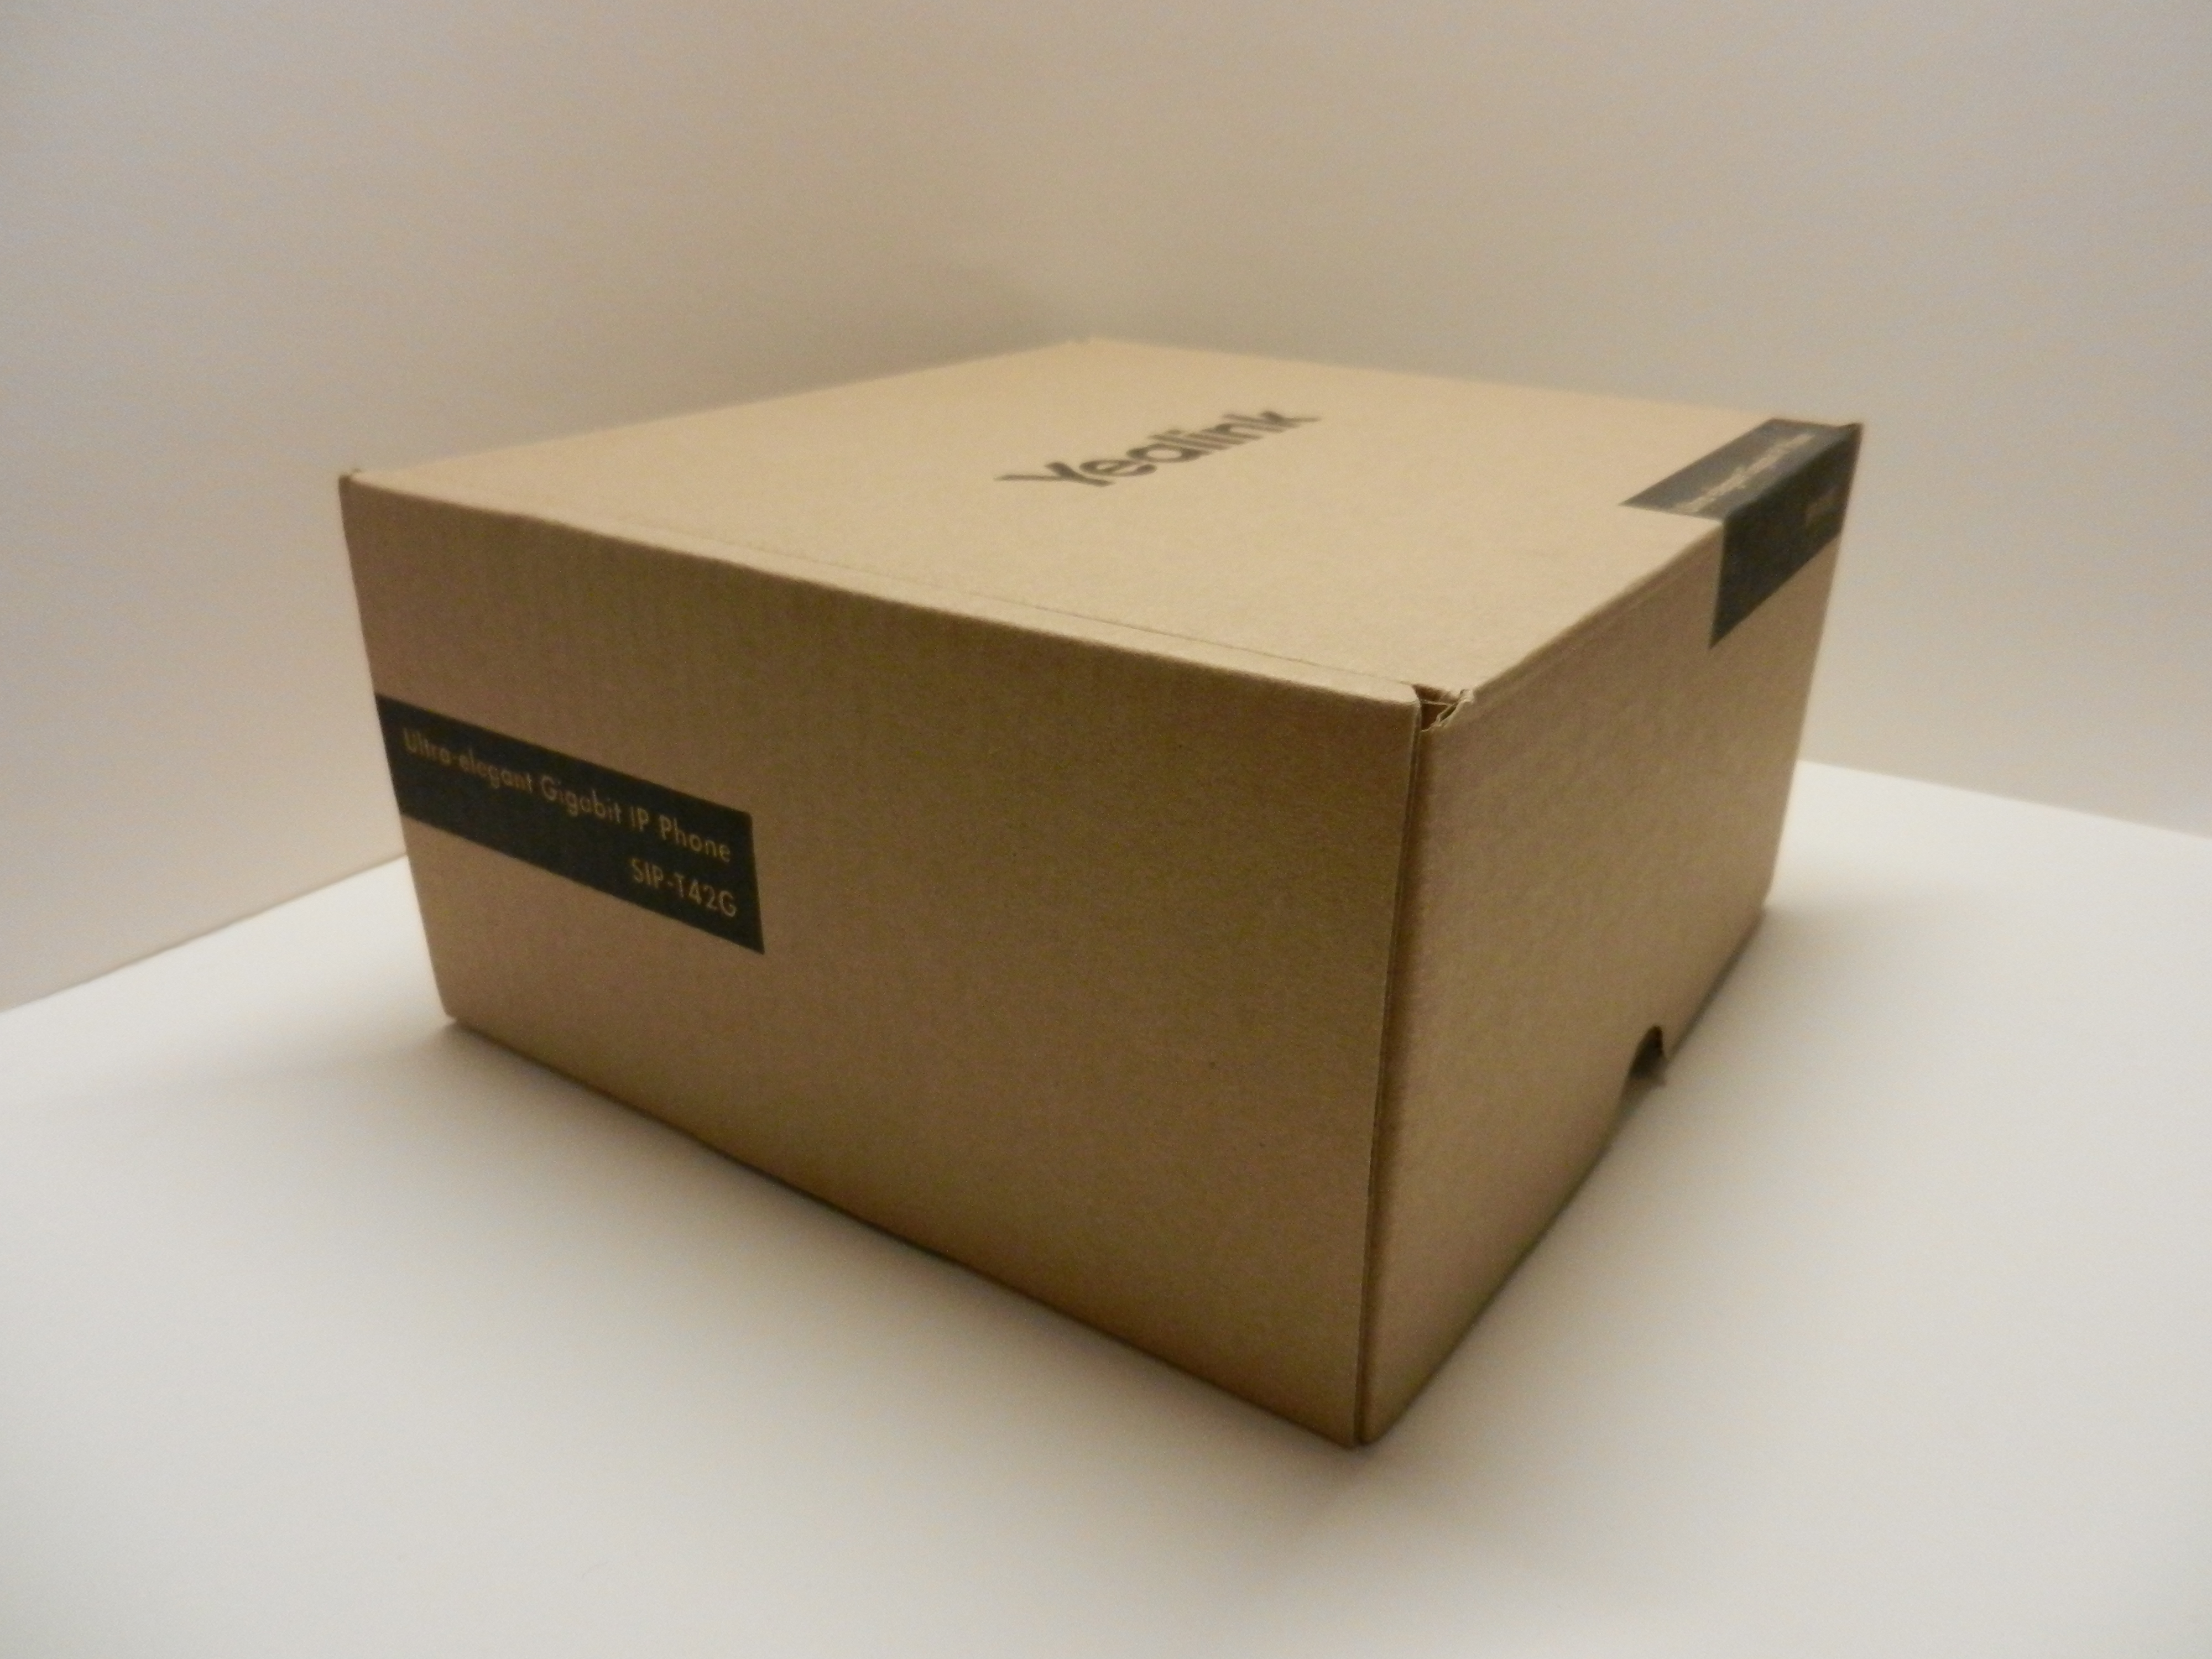
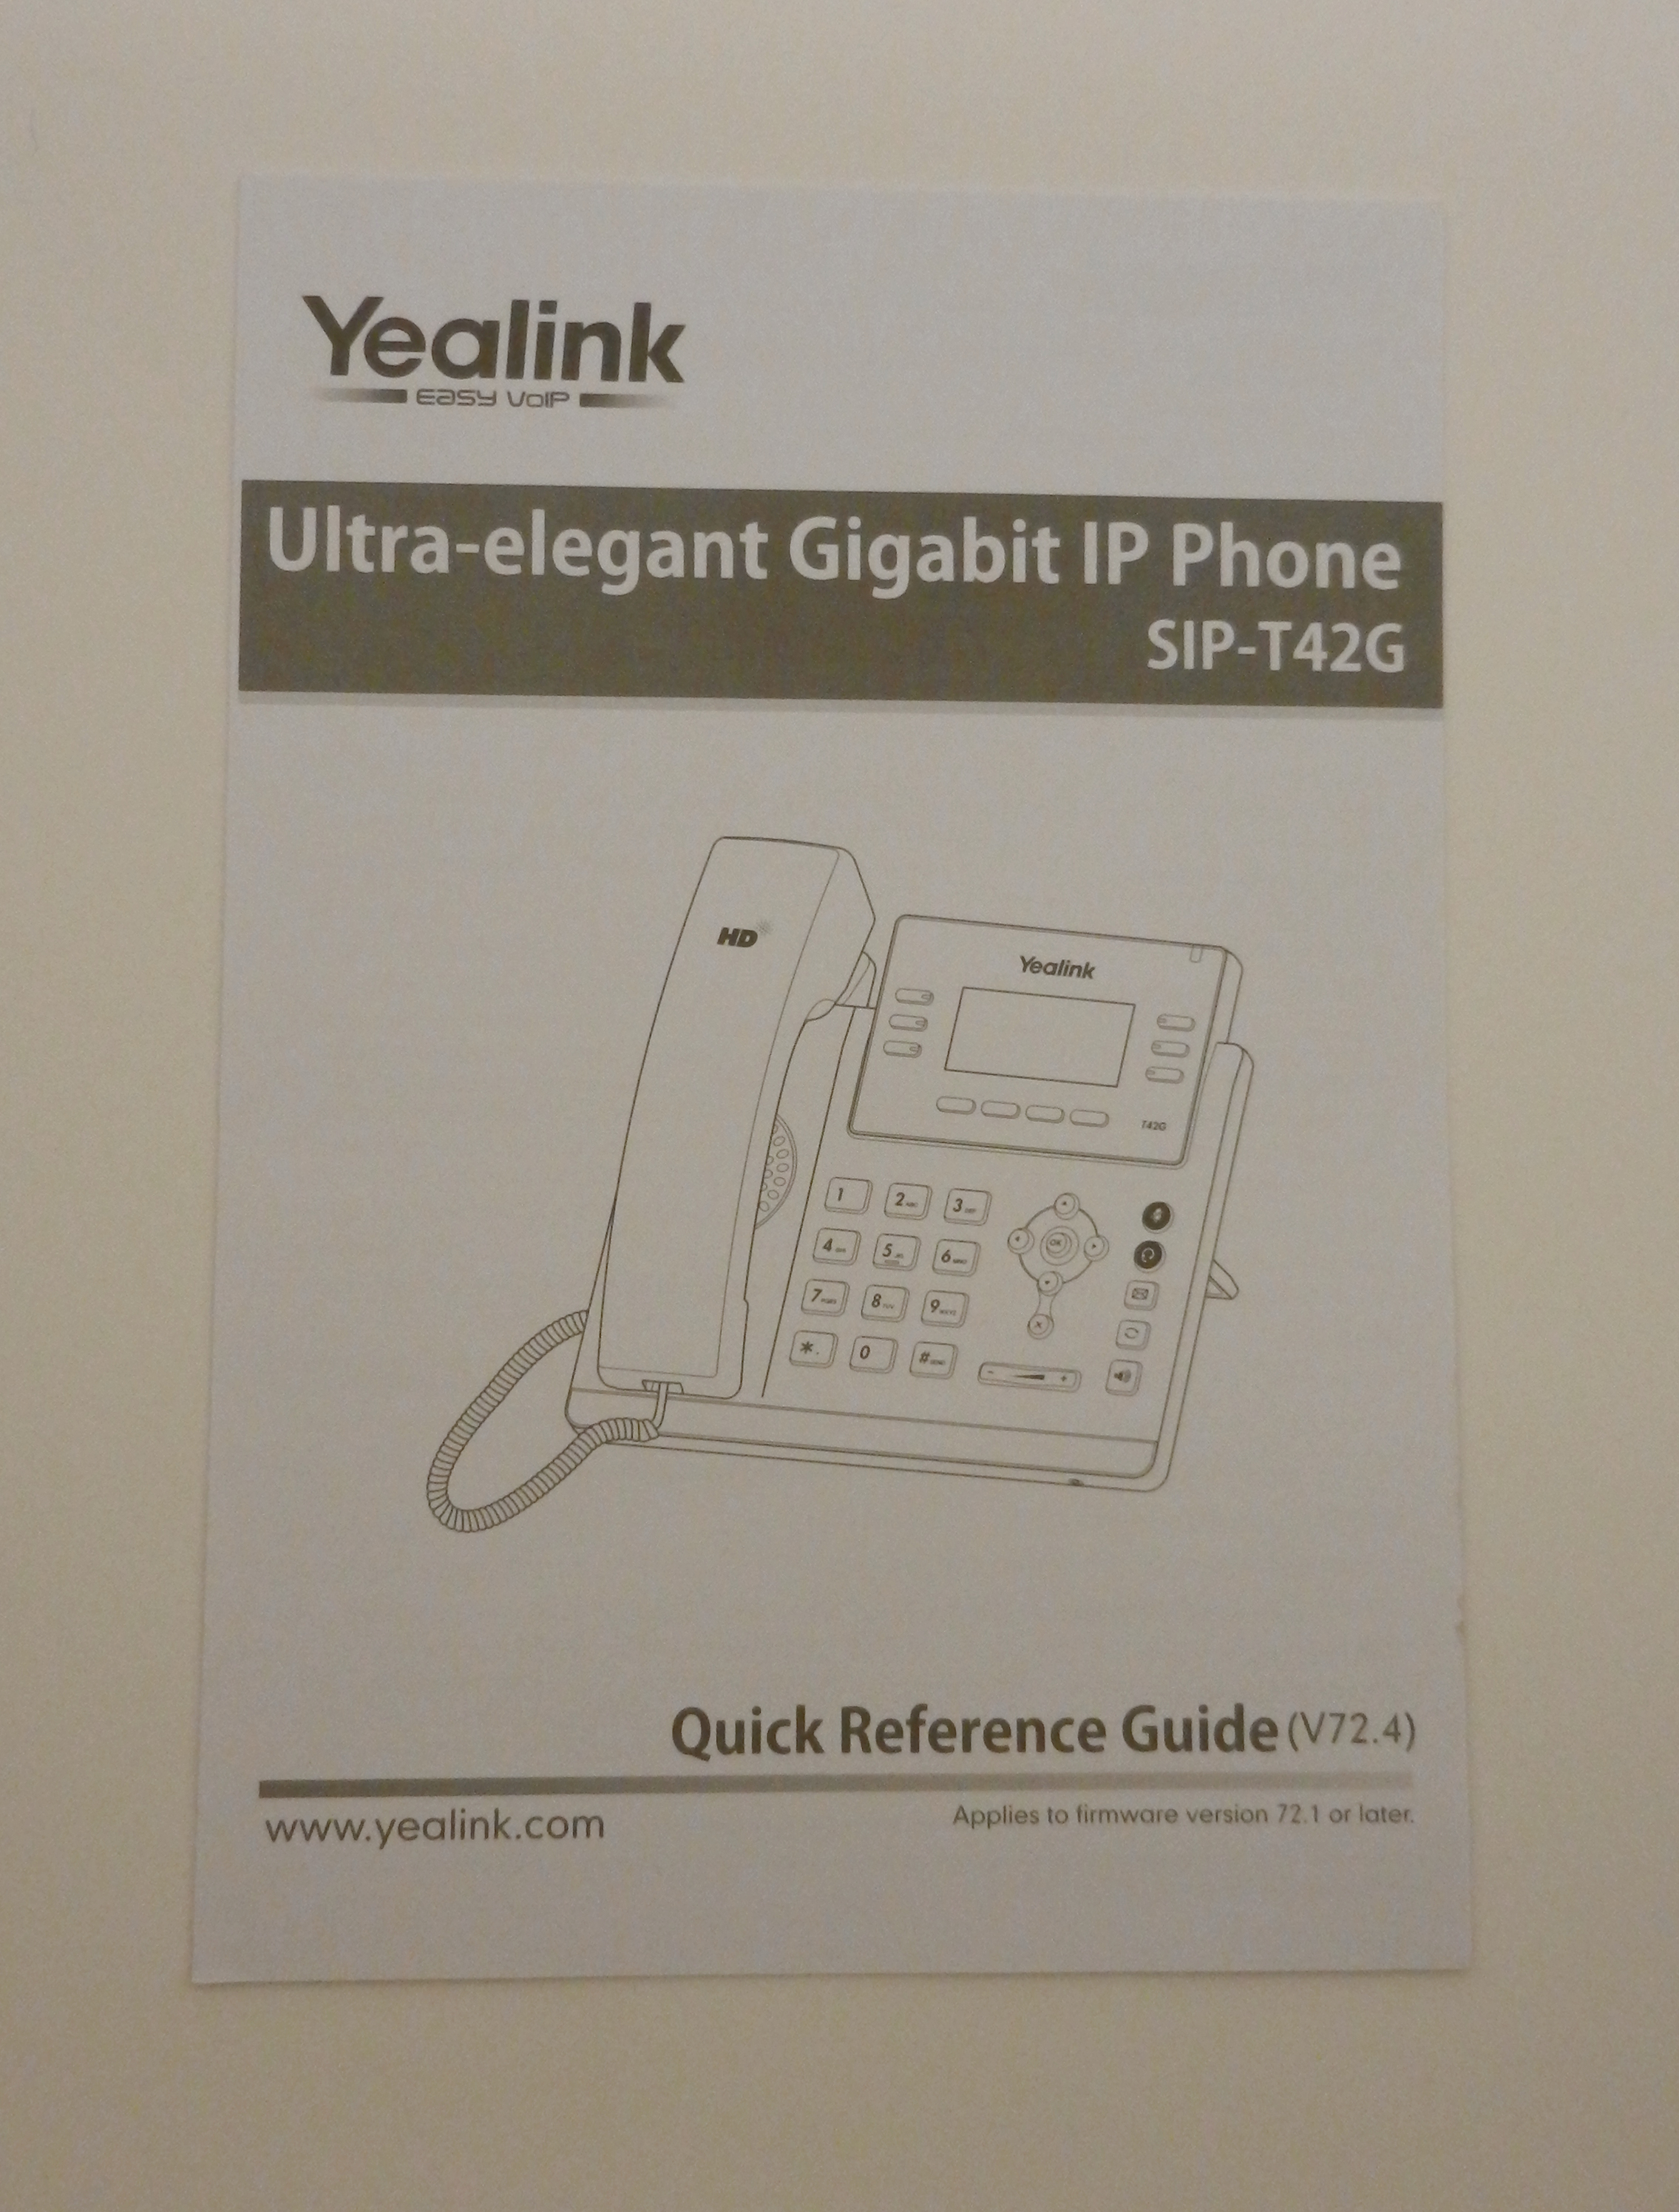
The SIP-T42G comes in a brown box with a quick start guide inside. Upon opening the box, I was greeted by the guide and underneath a plastic wrapped plastic box.
 The light plastic sleeve is easily removable and inside is the main case of the phone. Underneath this piece are some compartments that hold the ethernet cable, the spiral phone cable, handset, kickstand, and power cable. Each piece is wrapped in plastic and carefully folded into the box.
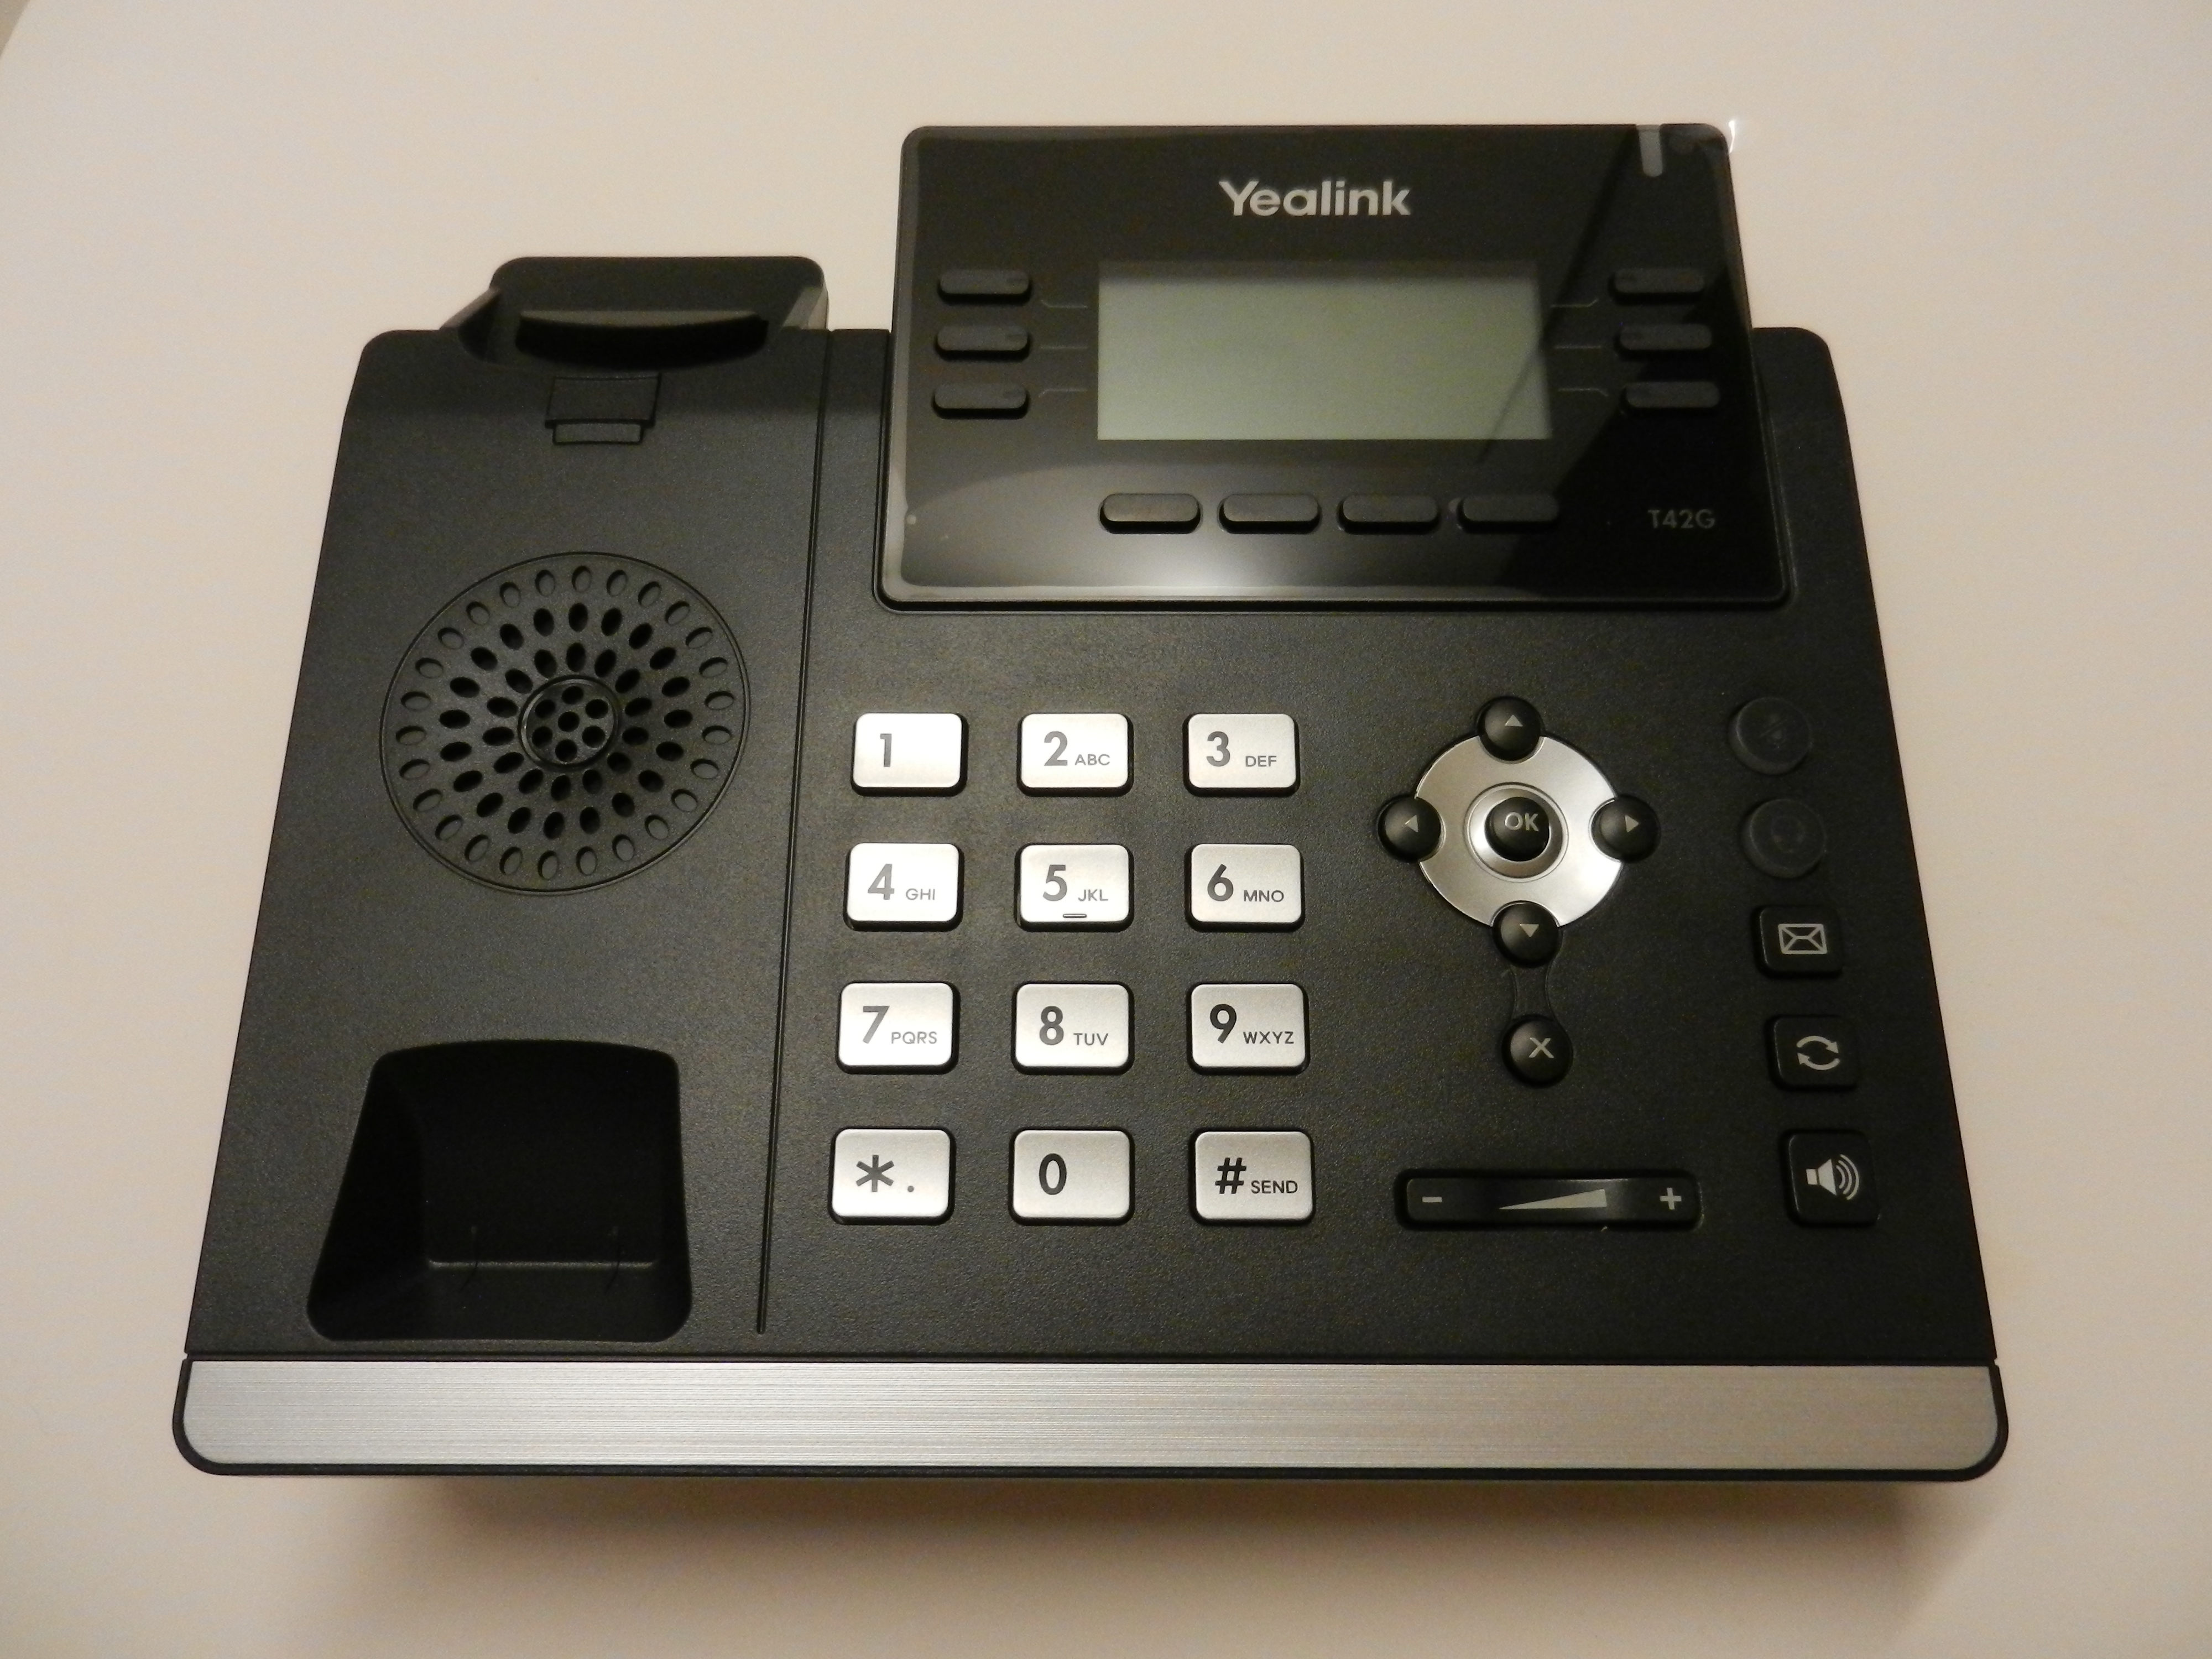
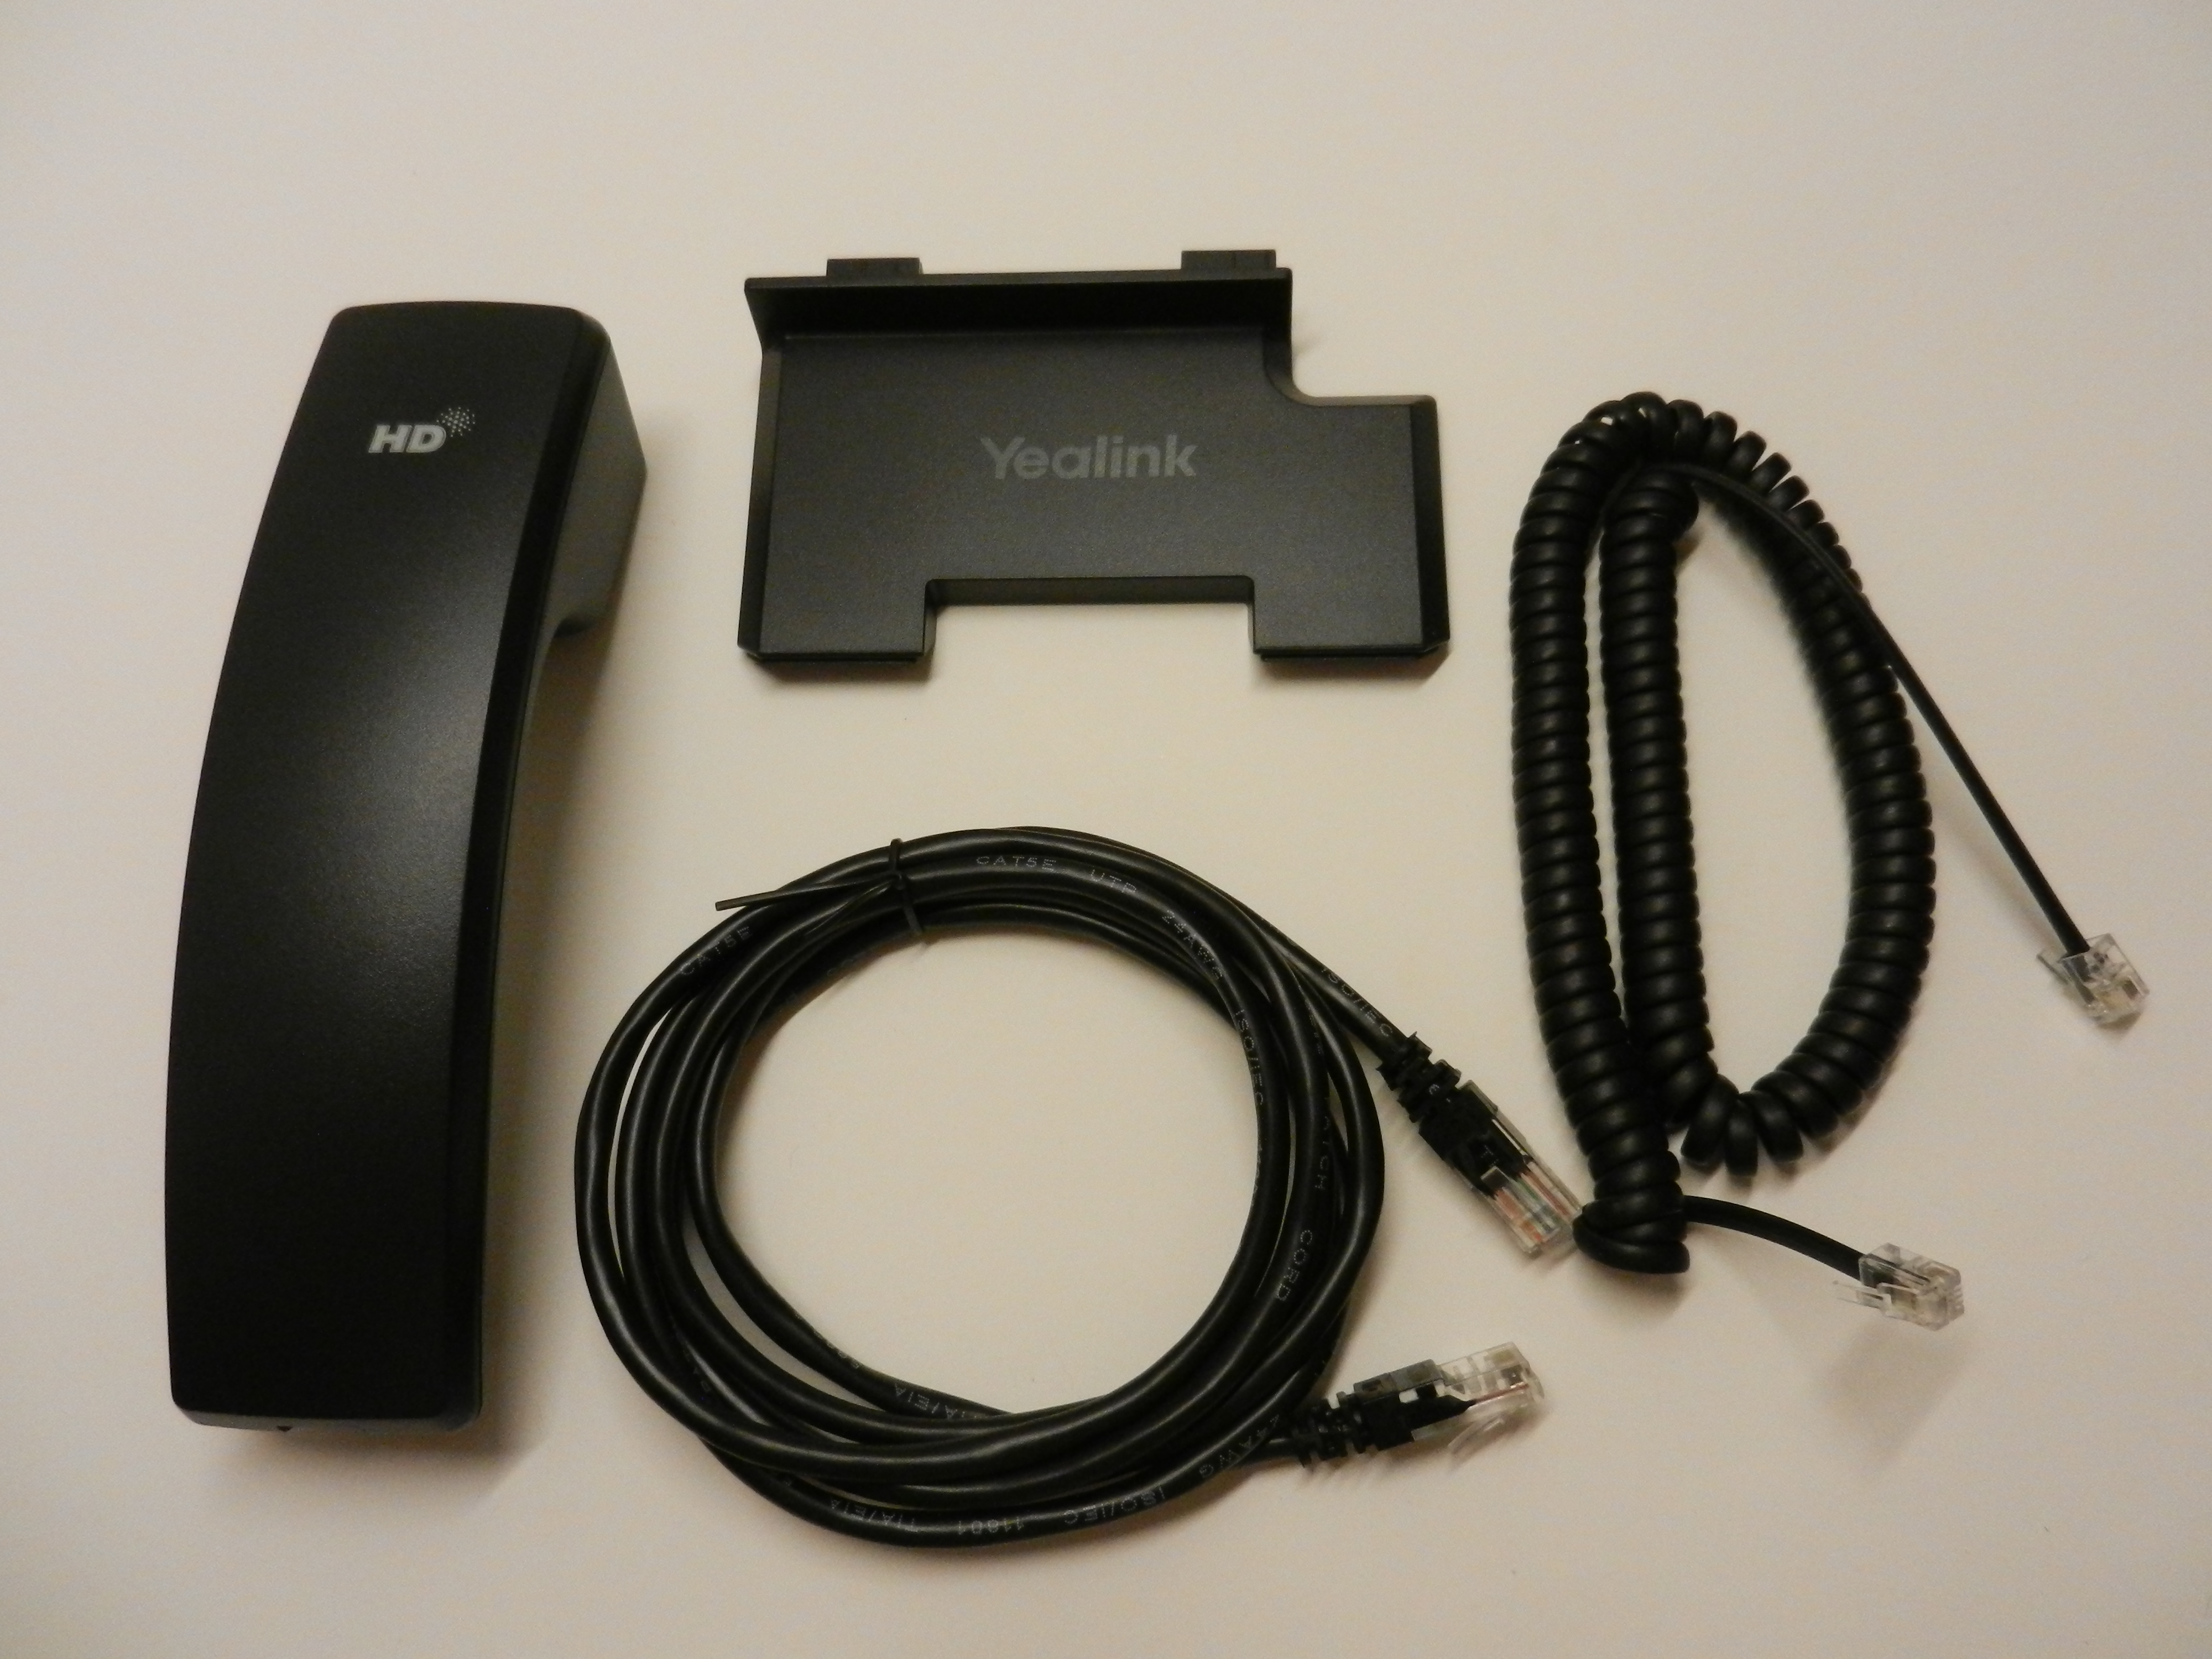
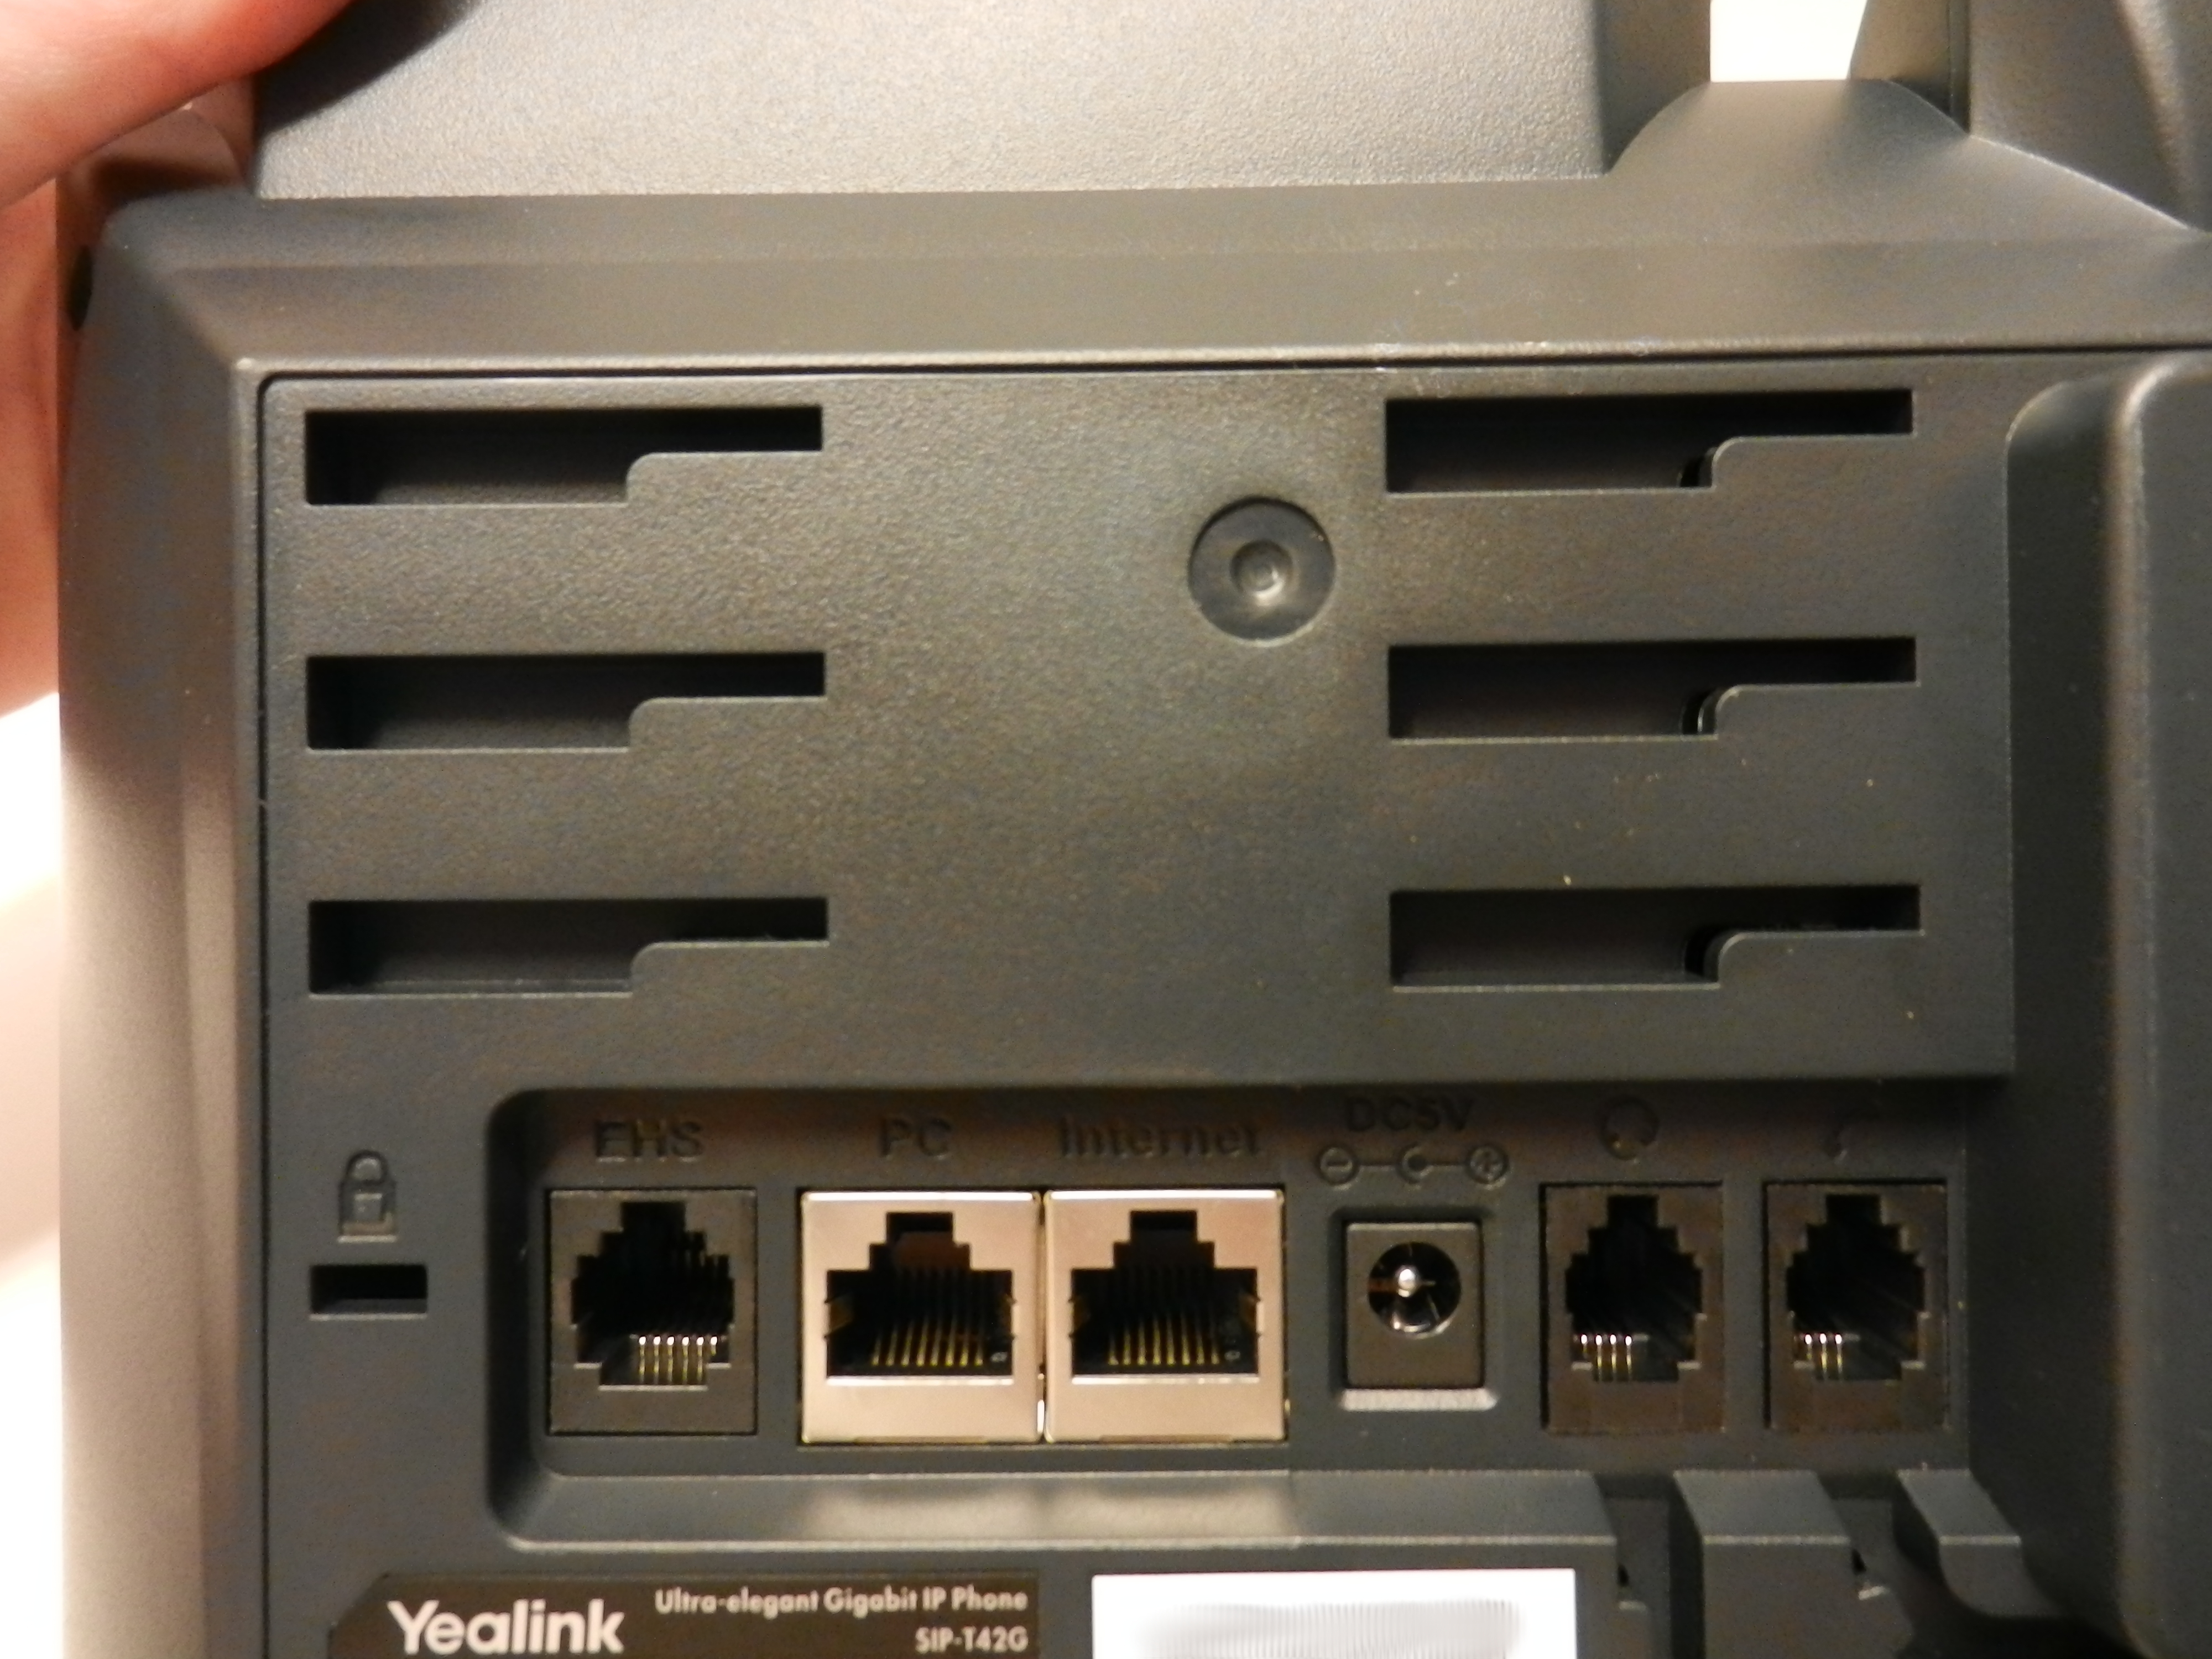
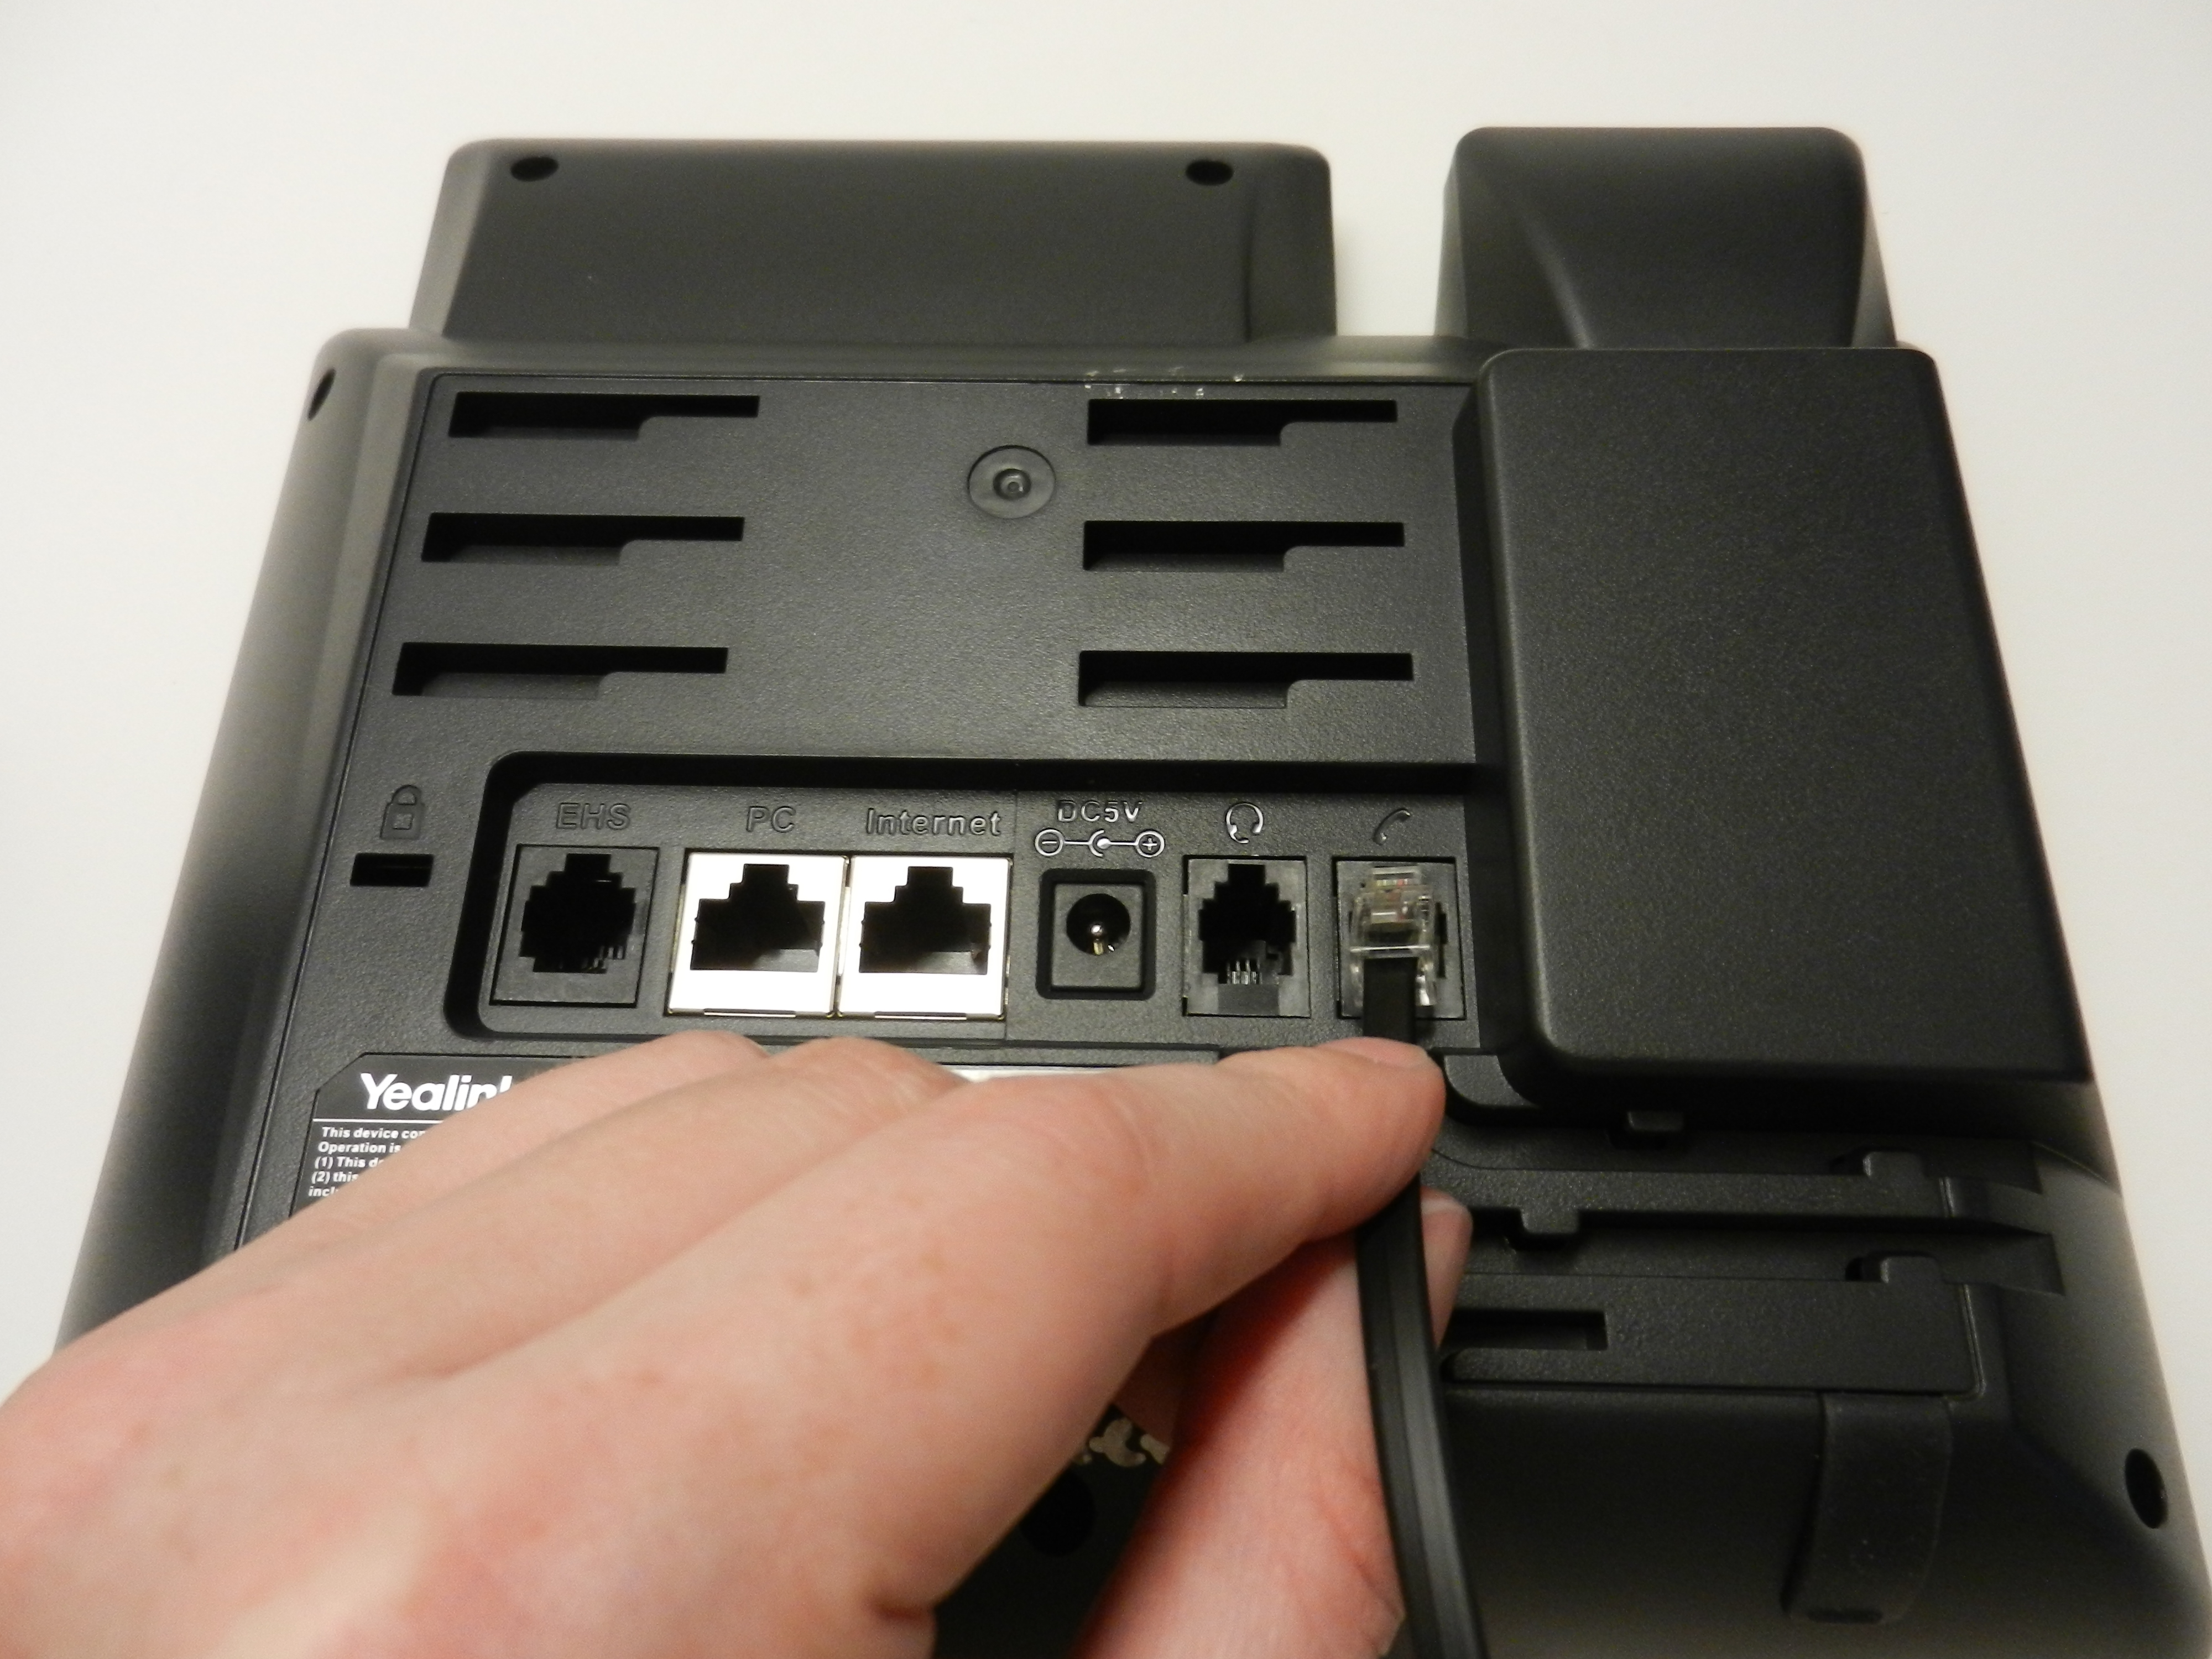
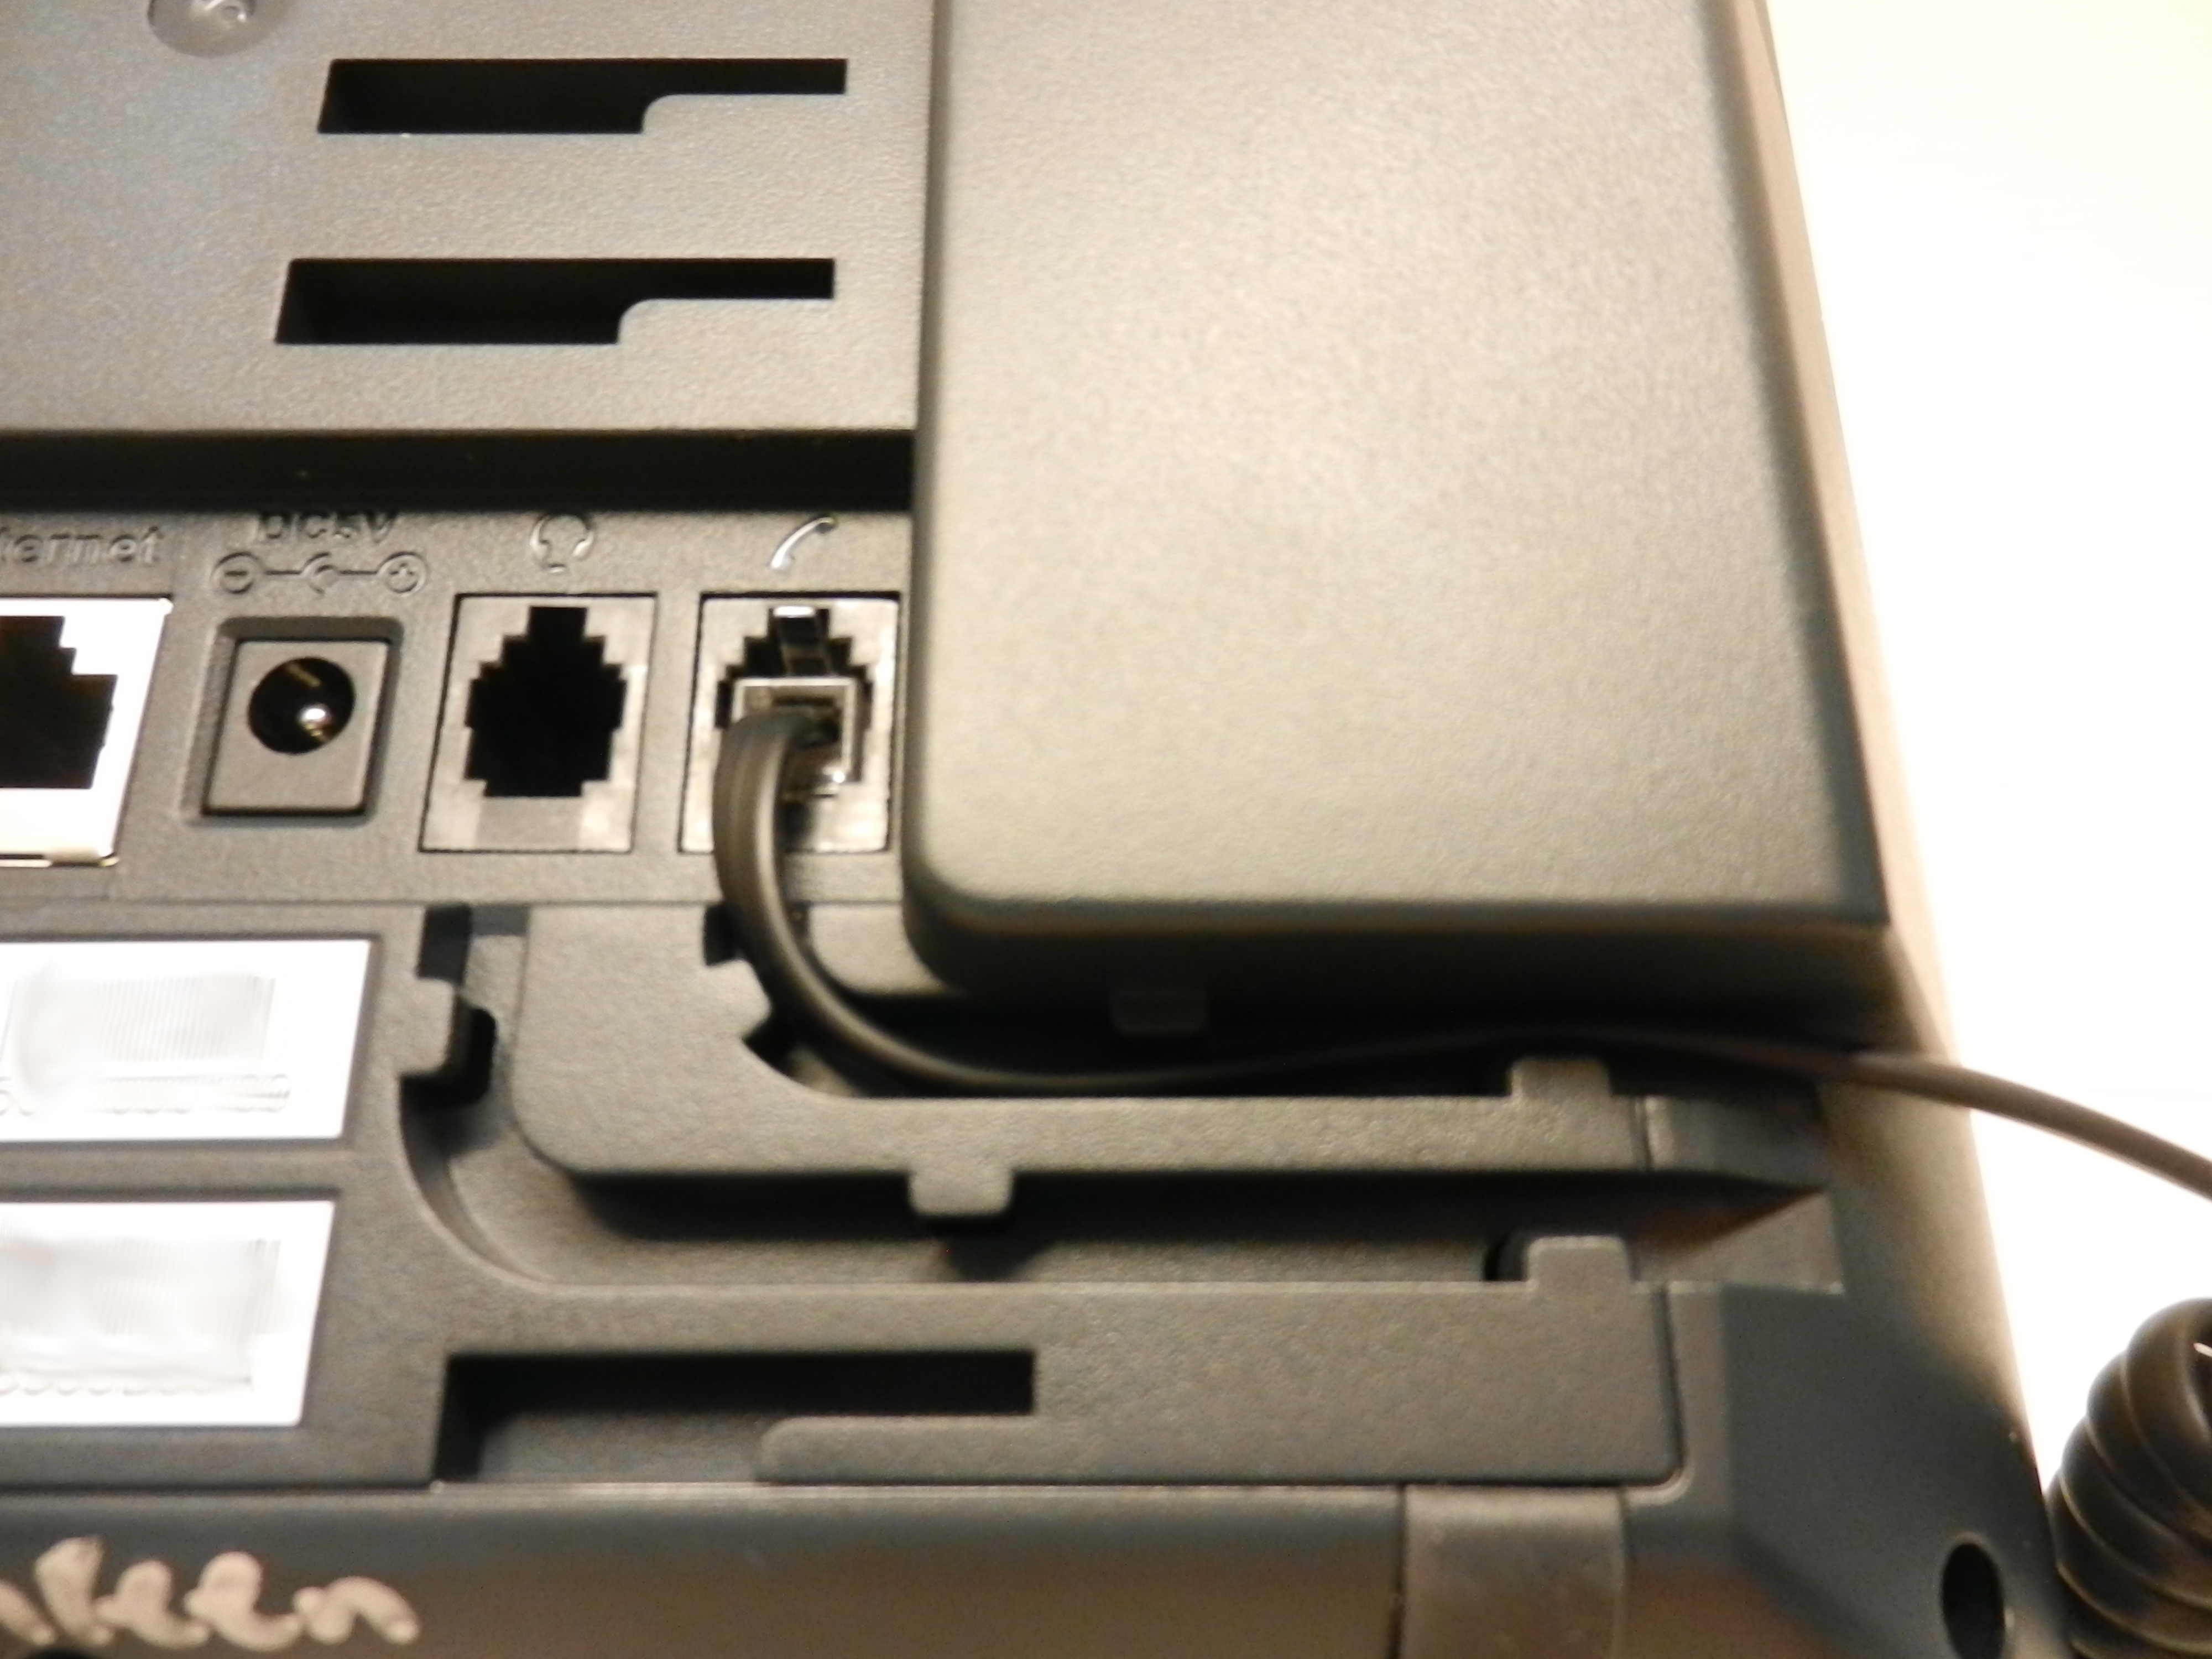
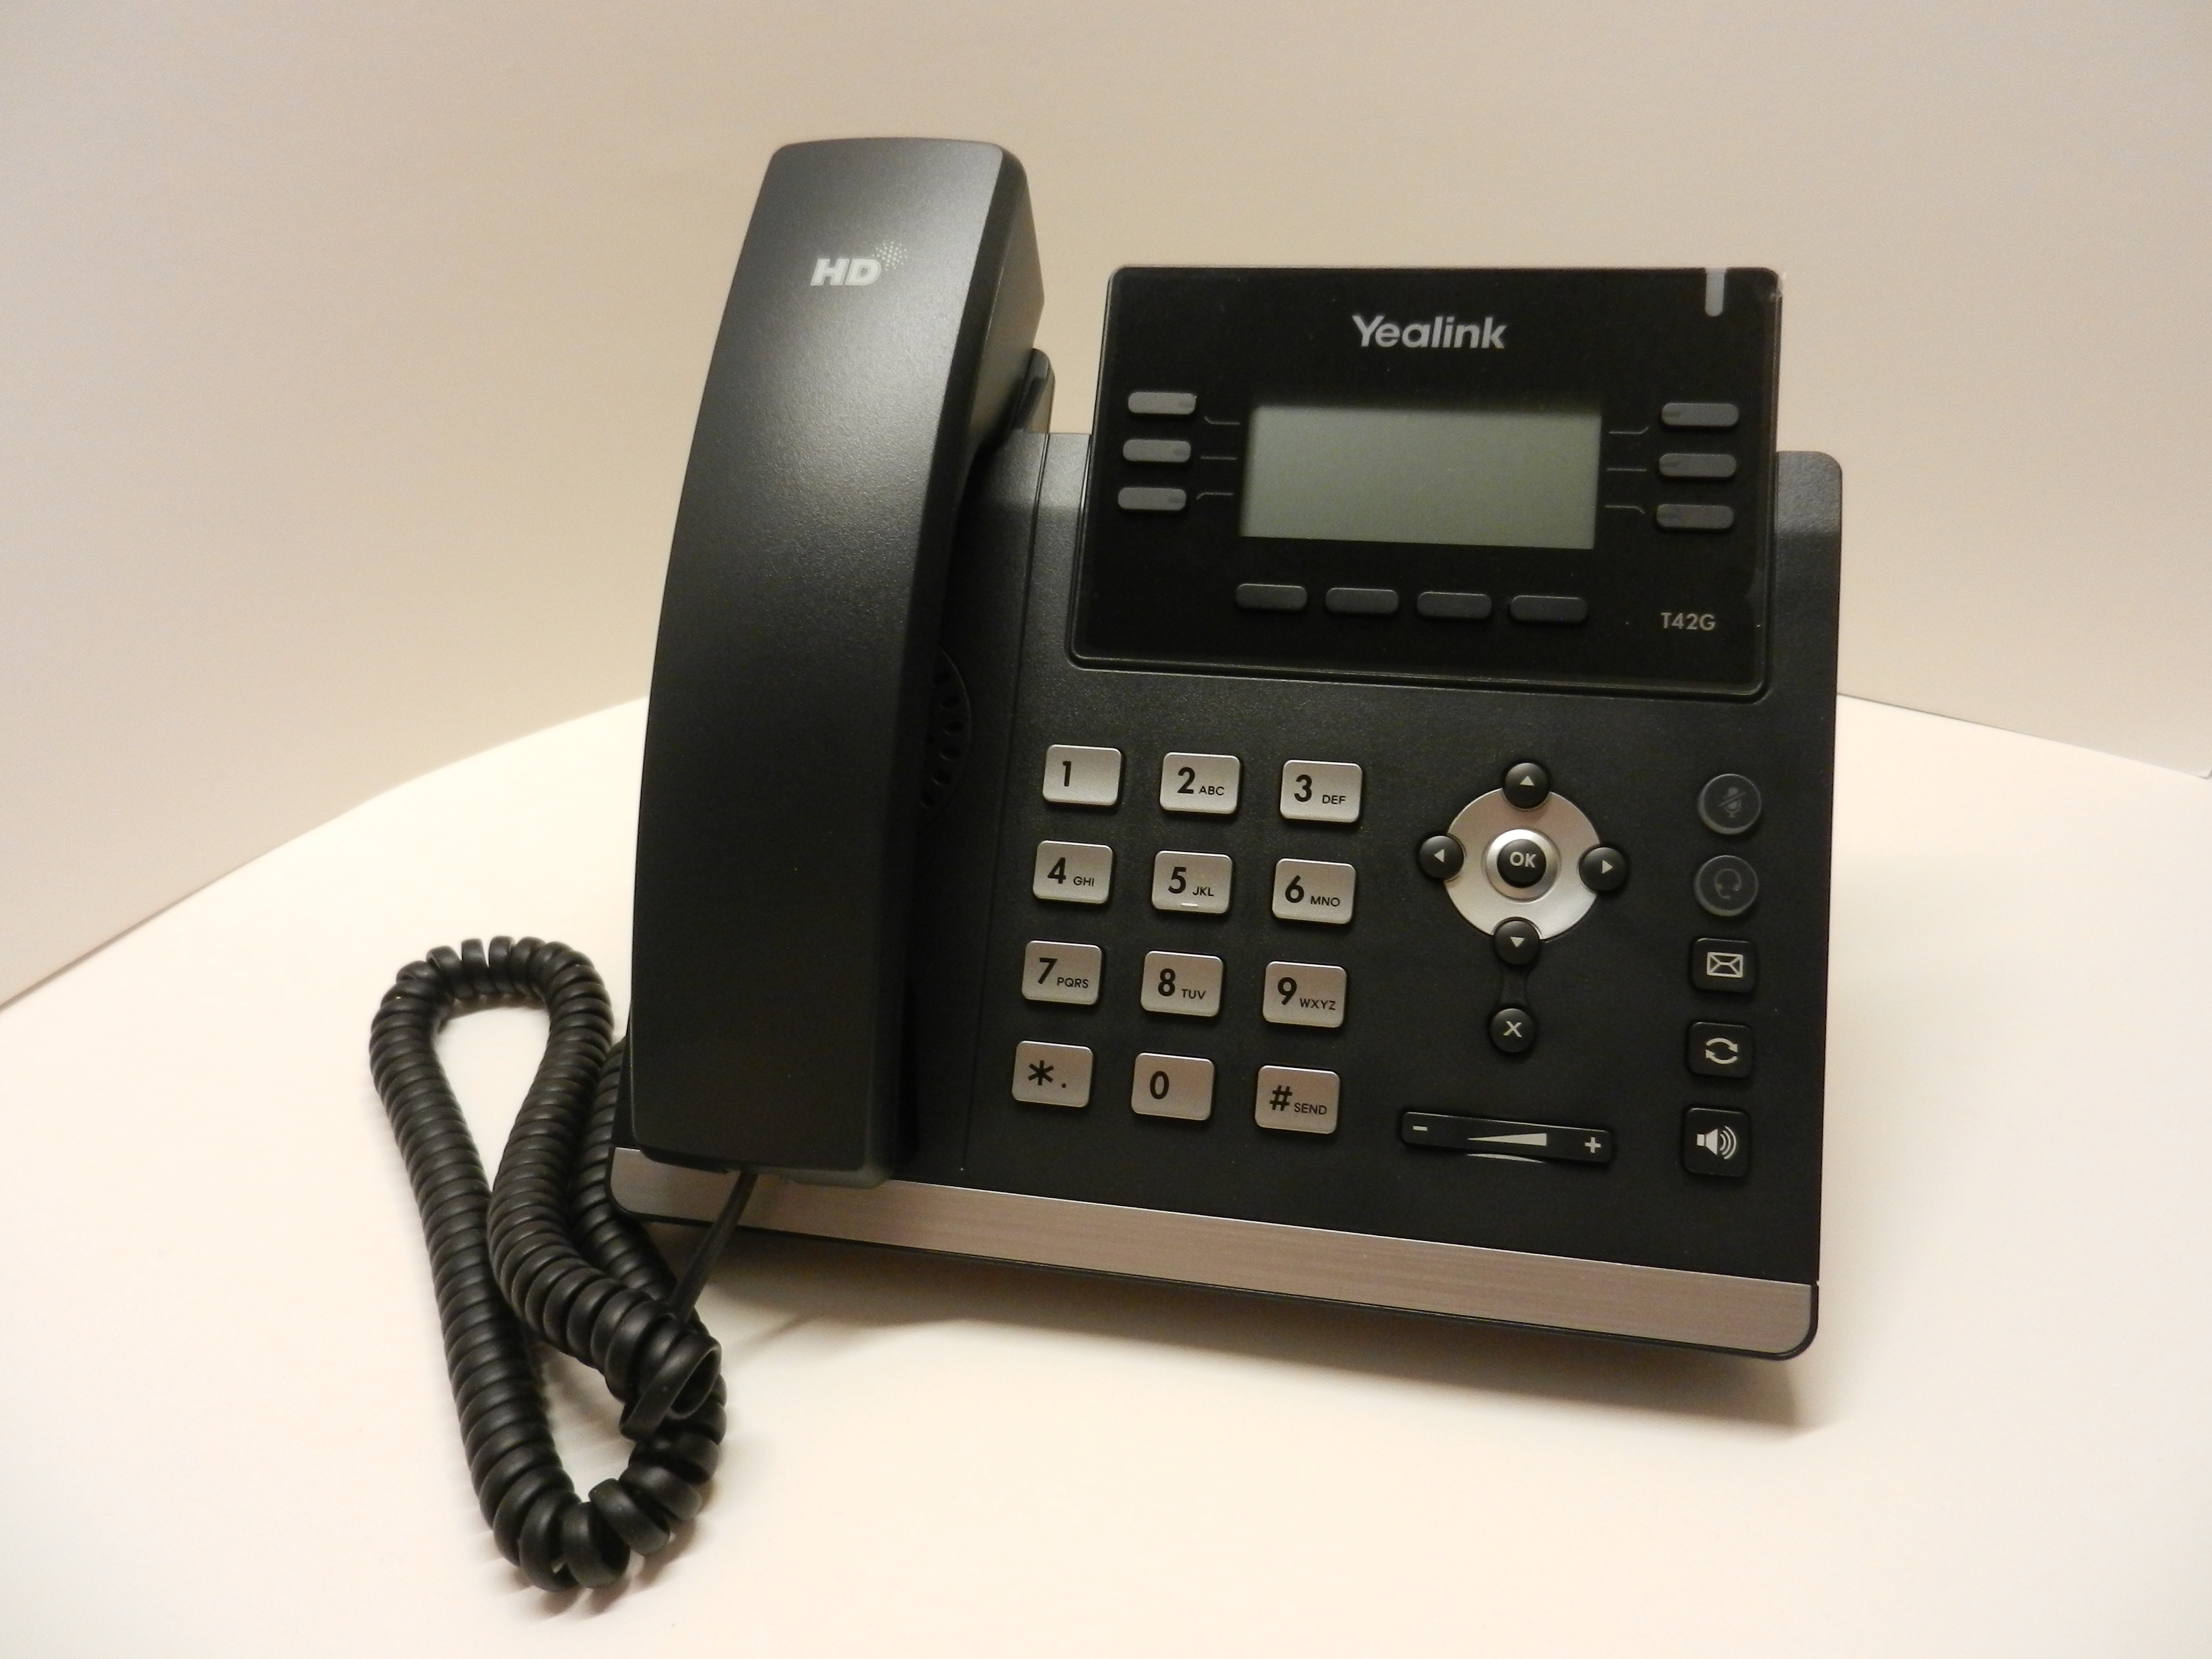
Assembly was incredibly easy and pretty self explanatory, with the stand siding into place with angle options and the handset receiving one end of the spiral cable and the phone base receiving the other near the bottom of the cradle. Be sure to use the port specified for the handset and not the port for a headset and slide the cable into the groove and secure it under the notches. I chose to only use the ethernet cable in the internet port with the other end in a P.O.E. switch instead of a power cable. The phone booted up right away with a pleasant welcome message that shortly transitioned to a display screen.
Setting up FreeSWITCH...
I will be doing nearly the same setup for each phone so if you are reading all of my reviews, this part might seem a bit familiar. The testing environment is a virtual machine setup with FreeSWITCH (FS) version 1.4.20-34~64bit and I am using a Yealink T28P, T27P, and a T29G to aide in my testing. Now, one of the first things I need to do is grab the IP of the phone I am testing, hereby known as the DUT (device under test), so I can navigate to the web UI for configuration. To do this, push the menu softkey and then either the “ok” button or DTMF 1 key to select the first “status” option.
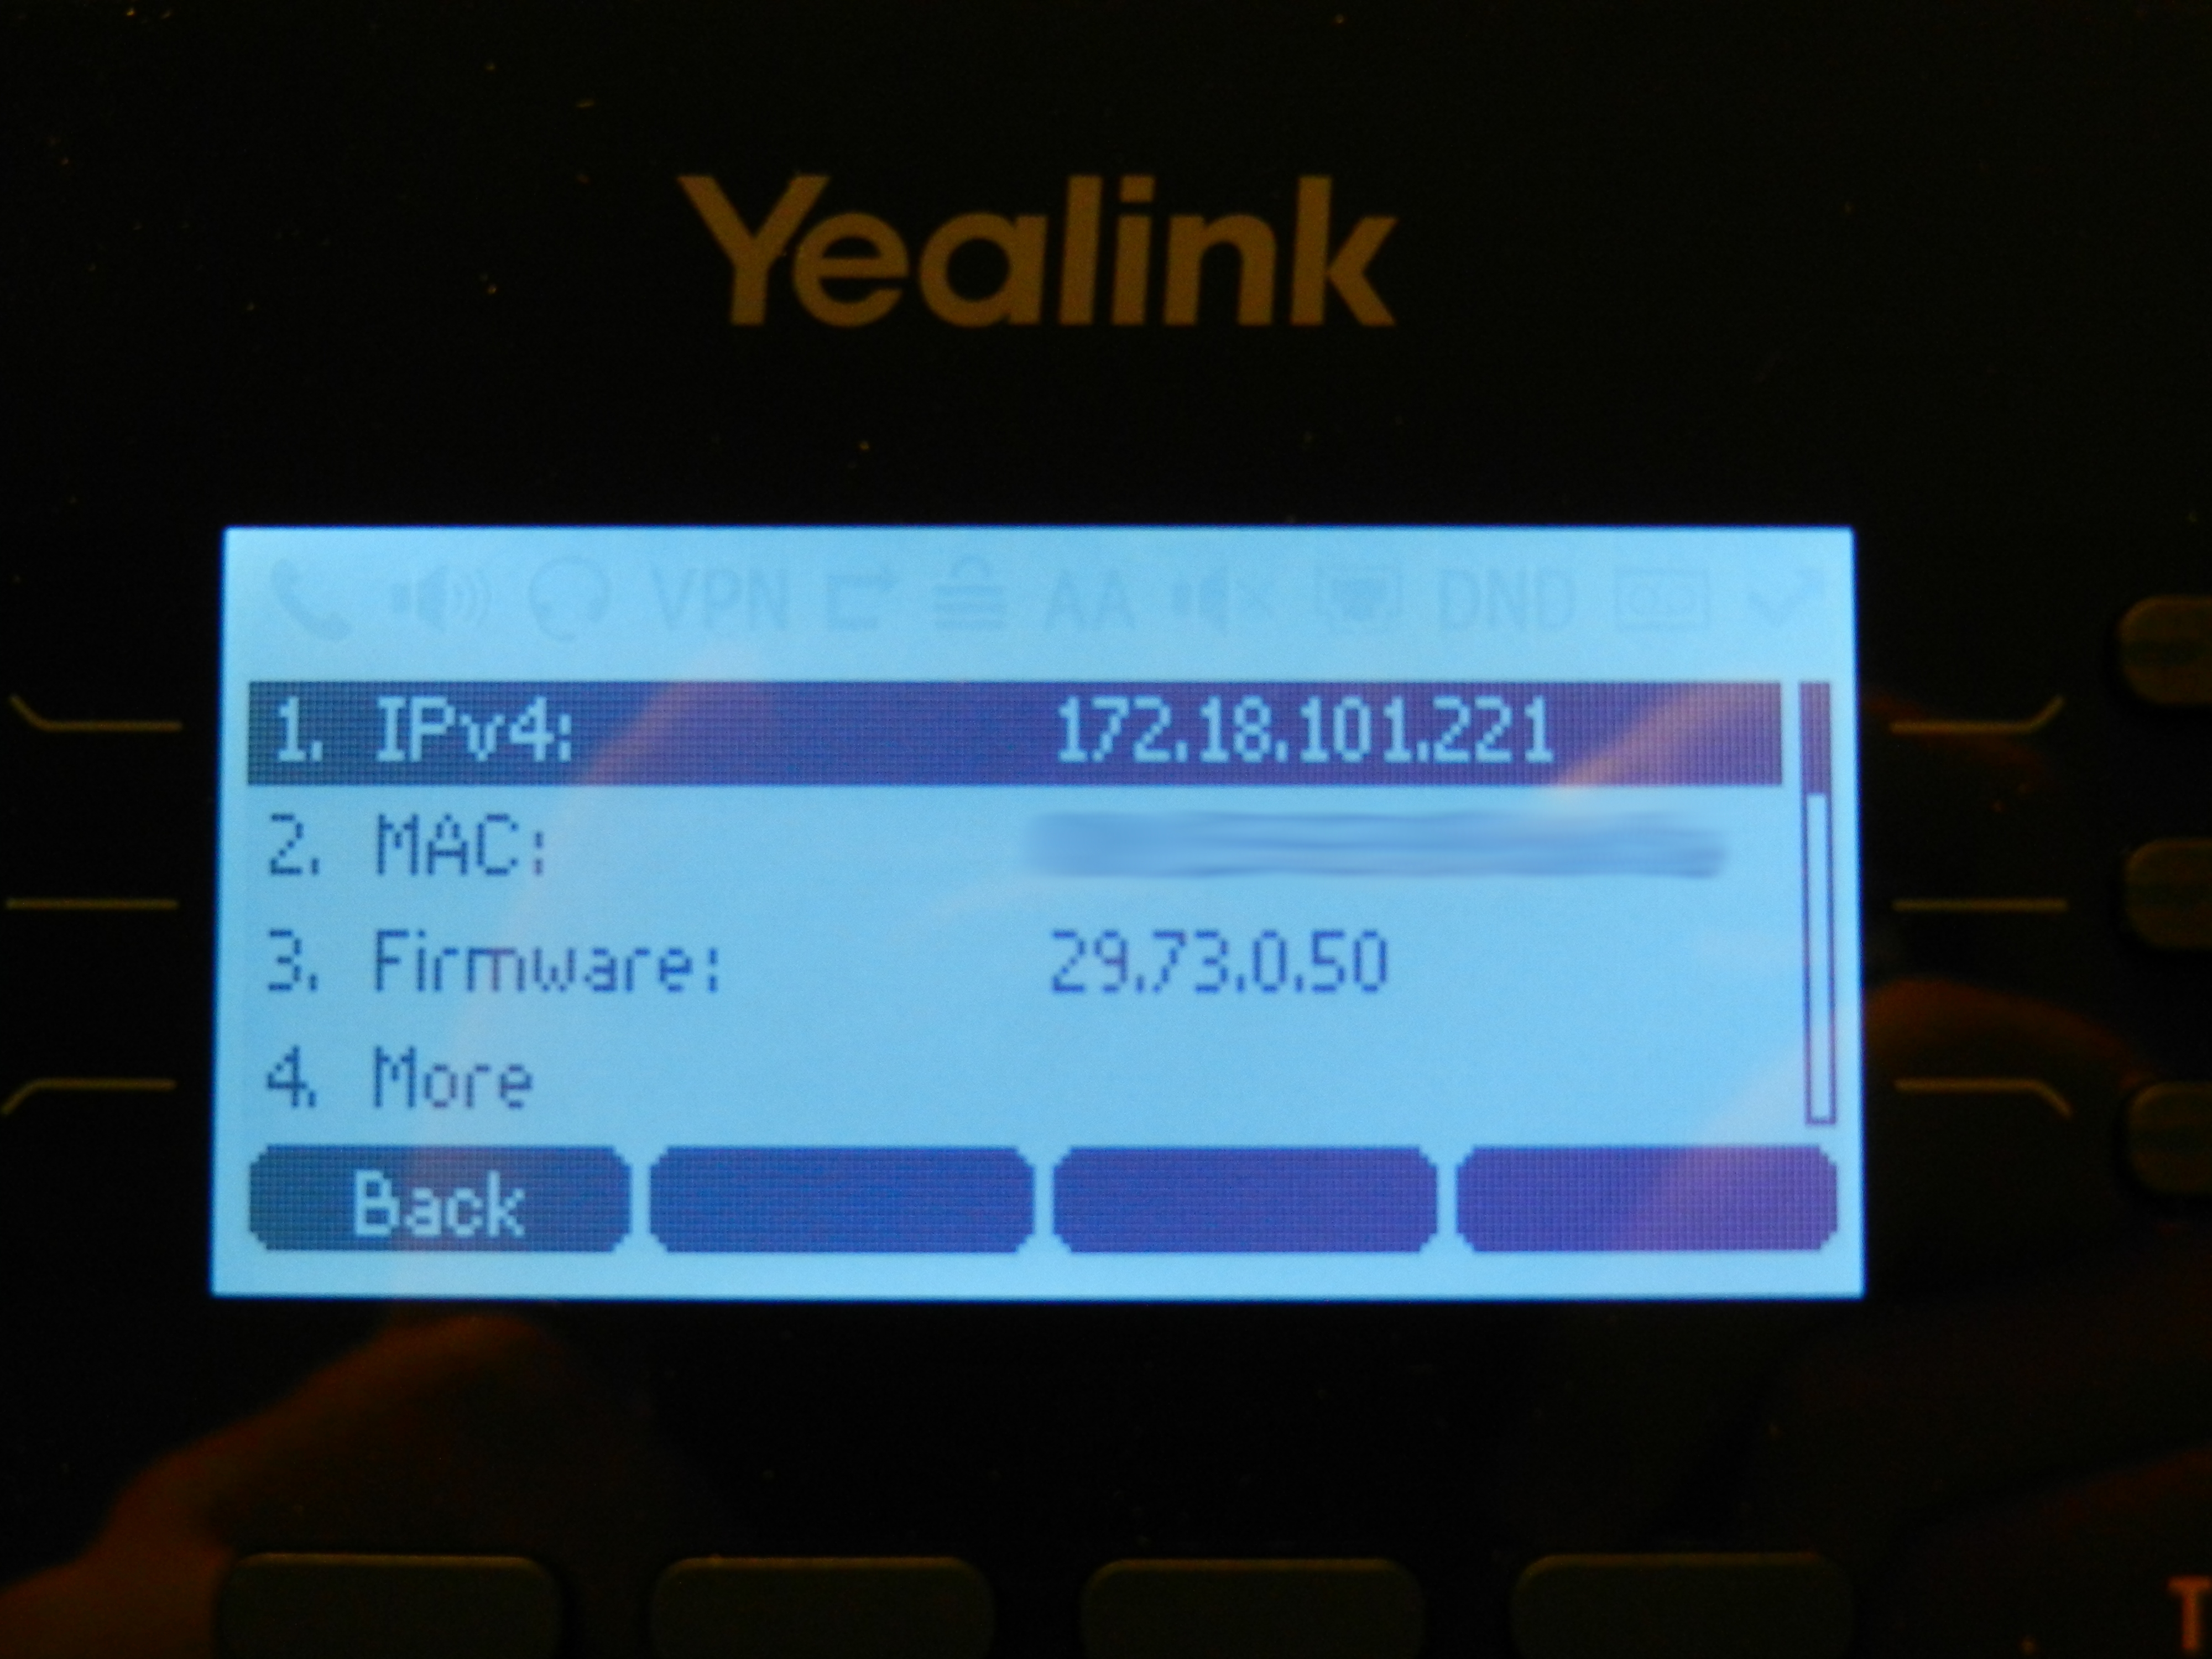
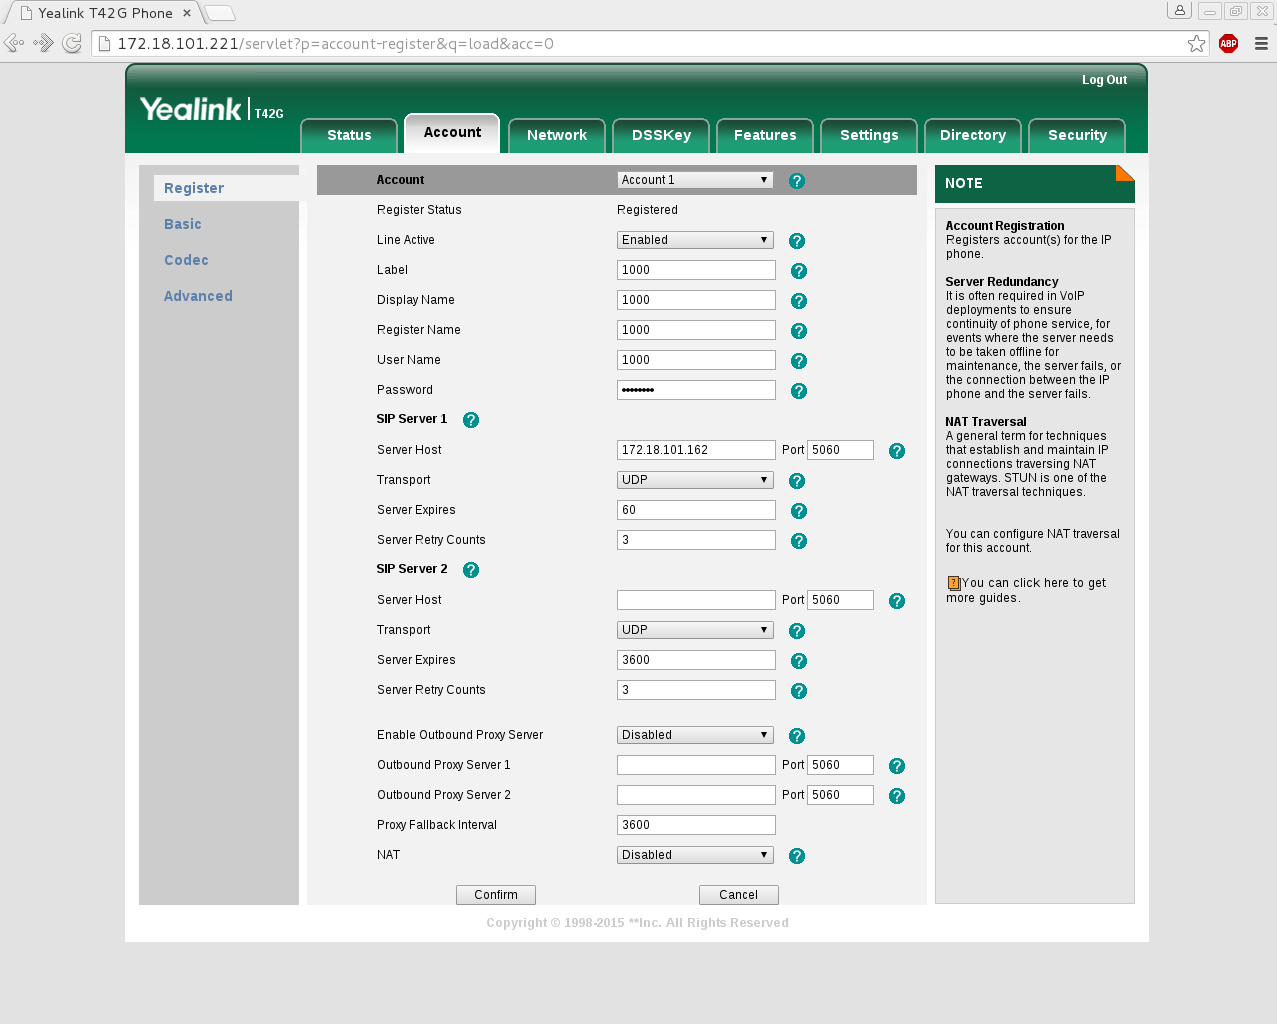
Then, take that IP address and enter it in the address bar of your chosen browser. This will take you to the login page for the phone and the quick start guide does a great job of walking you through this process. Note, at the time of testing the latest firmware for the T42G is 29.80.0.60. You can check that your phone is using the latest by going to the Yealink website and comparing it to the value shown for the firmware below the phone’s IP. Once on the website, click the support tab and select desktop IP phone from the drop down menu then find your phone from the list and select it. Compare the firmware versions and download and unzip the firmware if you need to update. Then, you can go to the settings upgrade tab in the phone’s web UI and select the files to update. To configure the DUT as extension 1000, first click the account page tab and make the following changes:
- Line Active = Enabled This enables or disables the line. Generally, this is useful if you are trying to configure a line, but don’t want the phone to start using it just yet.
- Label = 1000 This is what displays to the user for this line key. The top label of the display will support around 15 letters and 14 numbers, but the label next to the extension buttons only supports 4 of either.
- Display Name = 1000 This is what the phone uses to display to the user
- Register Name = 1000 This is the auth username used by the phone to authenticate. SIP will often simplify this down into the value of the extension. However, when dealing with multiple endpoints all registered to the same extension this can be a useful tool to differentiate between them. Also, when it comes to security, two factor authentication needs two different values, so having the auth username just be the extension then you really only have one factor authentication.
- User Name = 1000 In FS, this is the extension name
- Password = set this to the same value you set it in vars.xml
- Server Host = this is the IP address of the server on which you are running FS
To confirm that the phone is configured properly, go ahead and call 9888 to be connected to the public FS conference.
Voicemail:
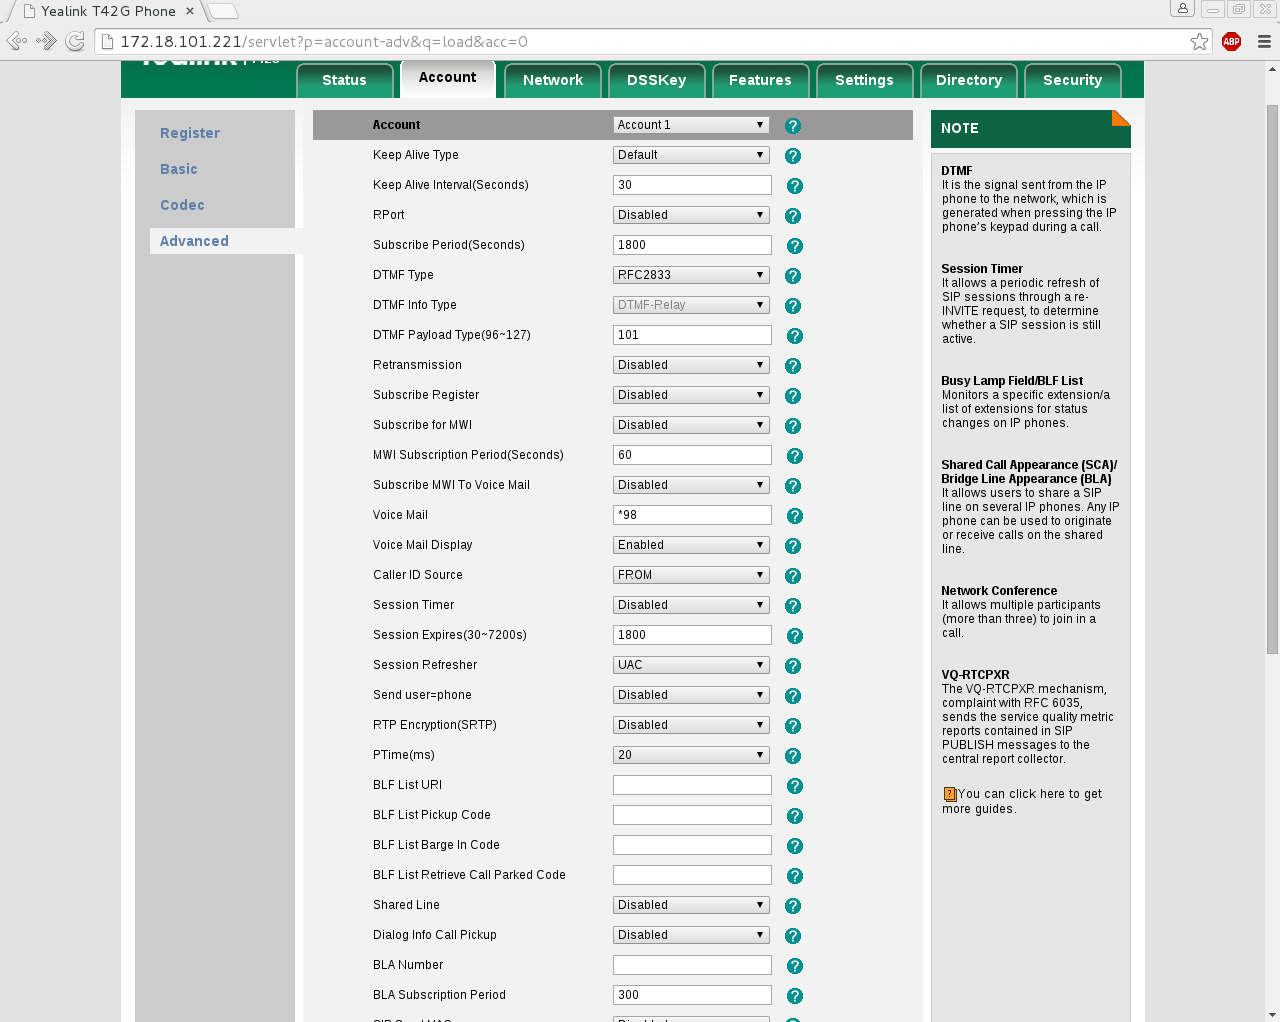
The notifications for a voicemail are obvious and well placed. The T42G has a little voicemail picture in the top right corner, the display says the number of voicemails in a text bar, and a blinking red notification light. Clicking view on the display for the voicemail notification will show the account’s new and old voicemails. Configuring the voicemail account code (AKA extension to check voicemail) you have to set it in account ->advanced->voicemail in the phone’s UI. When desk phones reboot, they are sometimes known for not registering the voicemails on record with that registration and don’t prompt the phone for notification. In this case, my tests show that the phone can be rebooted, either a soft reboot via holding down the ‘x’ button, or a hard reboot by unplugging the power, and it still notified the user of voicemails.
- Test re-subscribe= Set the registration expires time to 60 sec which means retrying at about 30 sec by setting the account->register->server expires and the account->advanced->MWI subscription to 60 sec
- Interesting note, when confirming the 60 second MWI subscription timeout, it failed to continue to notify me of unchecked voicemails. I repeatedly tested keeping the value the same, but when I hit confirm in the UI the voicemail notifications disappeared. It did, however, continue to warn of two missed calls.
BLF:
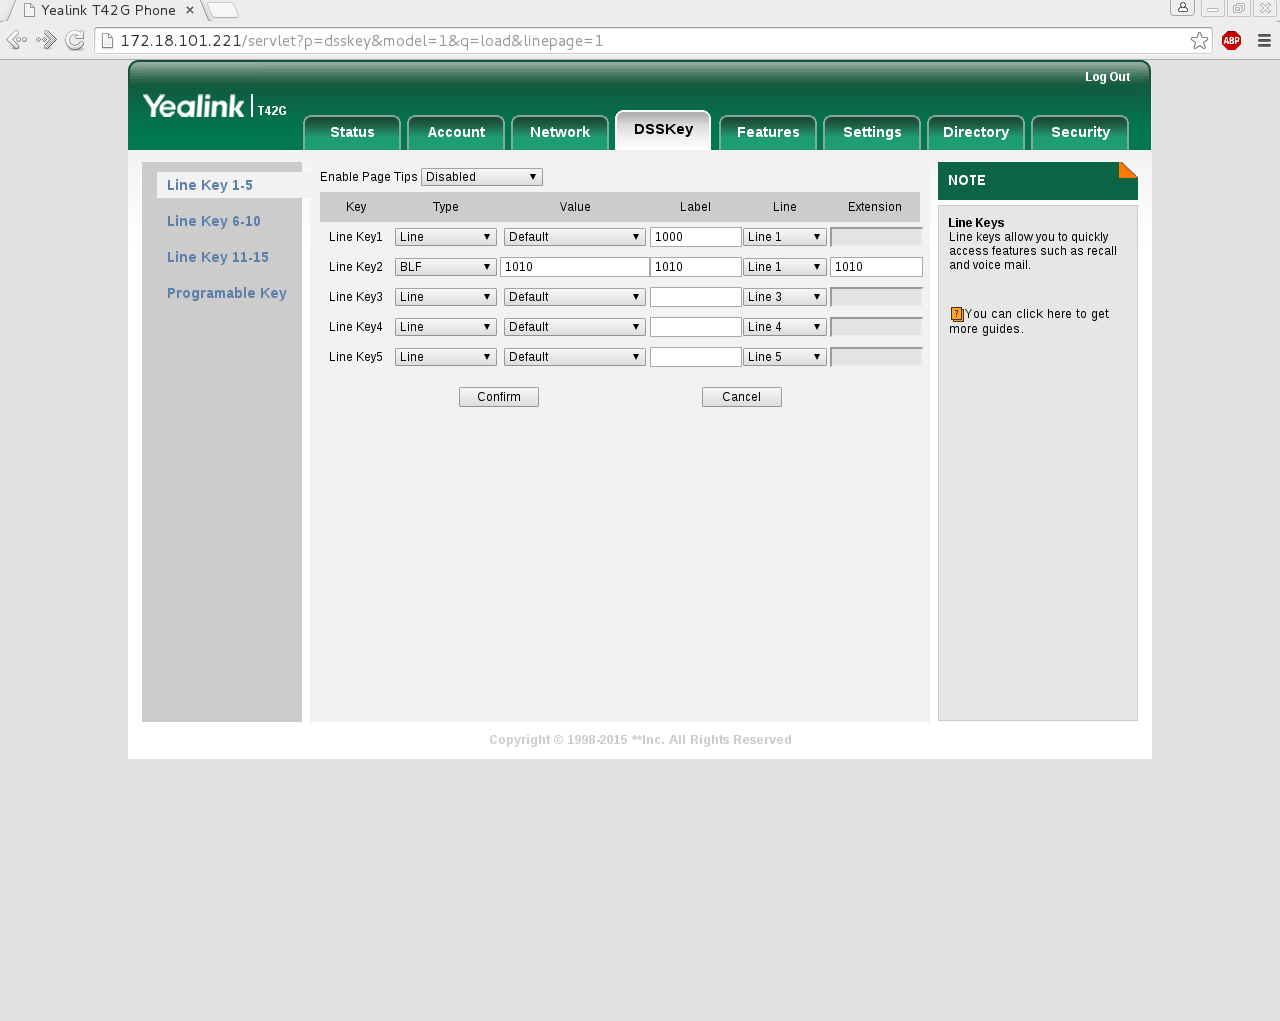
BLF stands for Busy Lamp Field. This feature shows three states for presence target: off, ringing, and active. To configure BLF go to DSS key->change line key2 to BLF->change all the values to 1010(the extension I was using to test).
- Value= is the extension that the phone is going to monitor for BLF
- Presence subscription target= Who the phone is going to monitor for BLF. This doesn’t need to be numeric.
- Label= what it shows the user
- Line= which registration do you want to subscribe to
- Use the account you configured on your initial setup for this BLF subscription
 Time to blow your mind- Say you are using a T28 with multiple line keys. You can have each account setup for different extensions for different servers. You could monitor all the lines! BLF worked beautifully, with a solid green light for a open line, blinking red for a incoming call, and solid red for a busy line.